Grill Thin Steaks Without Burning: 7 Smart Tricks
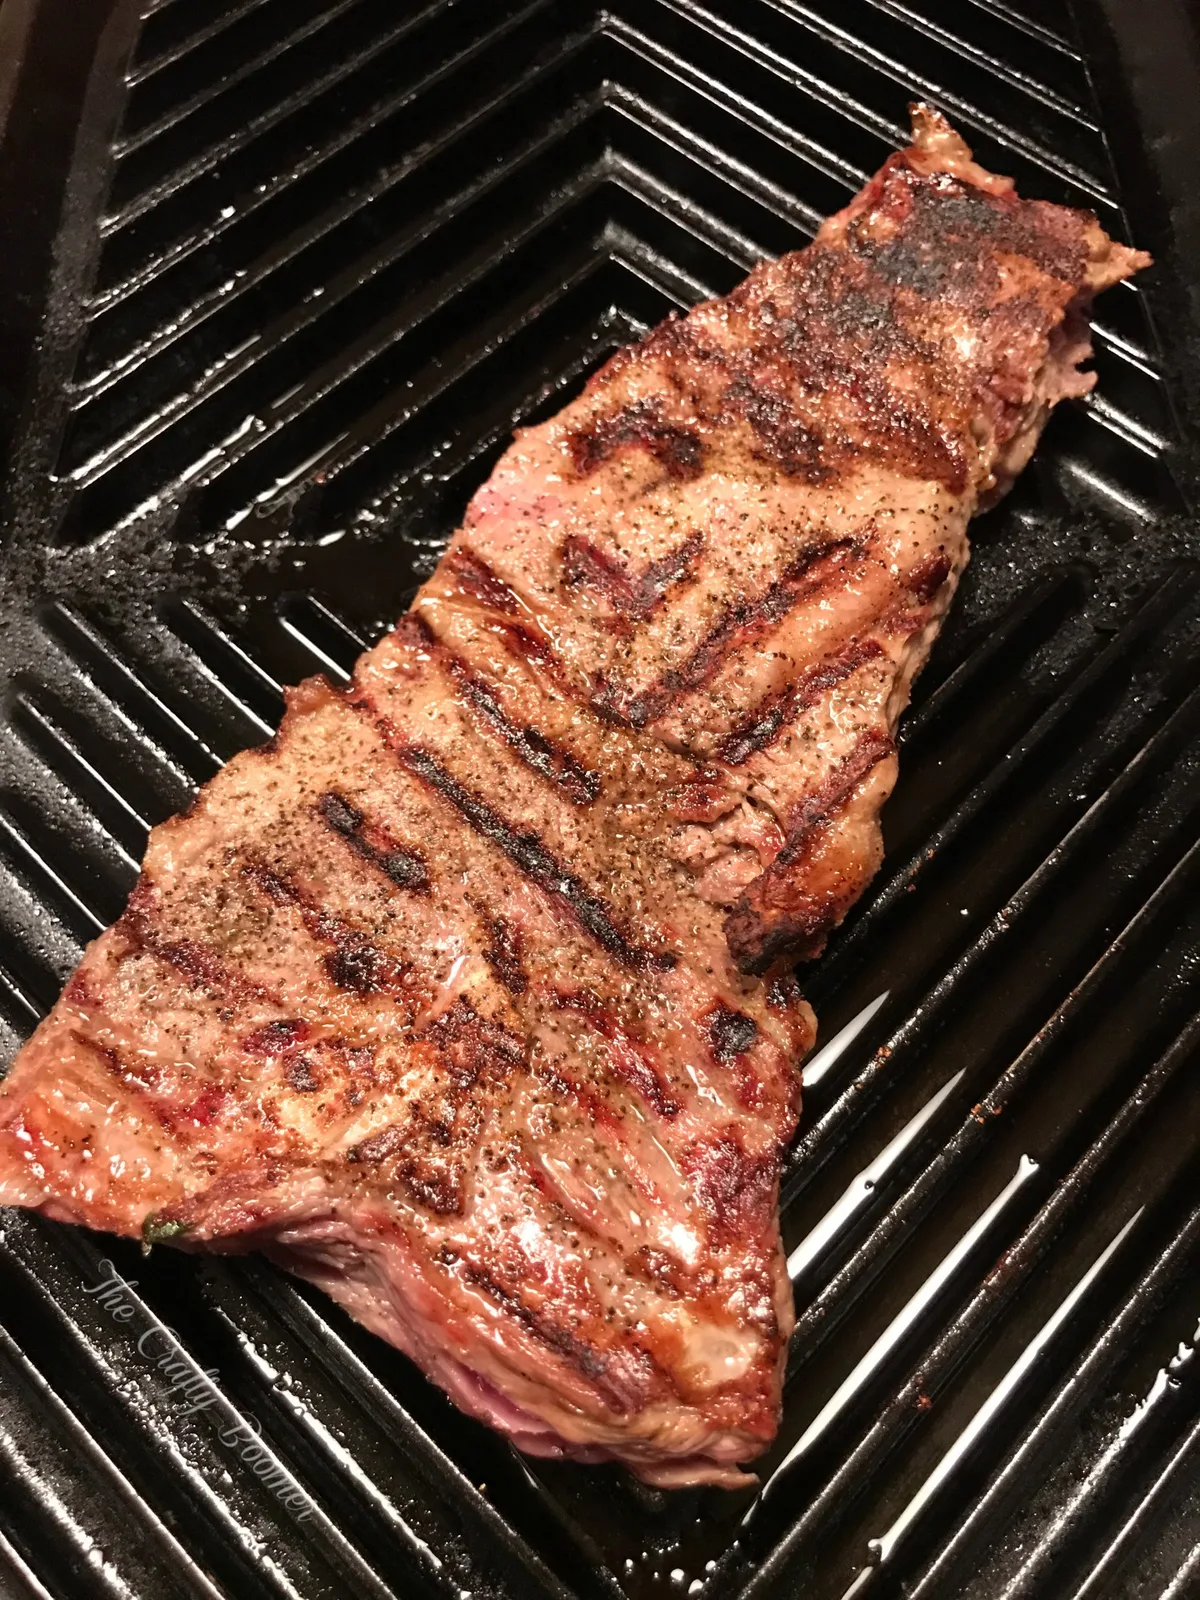
You know the scenario. You've got thin steaks, a hot grill, and about six minutes before dinner becomes a disaster. The outside turns black while the inside stays cold and raw.
It happens to everyone at least once.
Learning how to grill thin steaks without burning comes down to one shift in thinking: stop treating them like regular steaks. They need more heat management, not less. They need constant attention, not a set-it-and-forget-it approach.
And they need you to understand exactly how carryover cooking works. As of 2026, the USDA recommends a minimum internal temperature of 145°F for beef, but most home cooks pull thin cuts earlier and let carryover finish the job. That distinction matters, because thin steaks can go from perfect to ruined in under sixty seconds.
The Problem: Why Thin Steaks Burn So Fast
Thin steaks are unforgiving because of basic physics. Heat travels from the outside in, and when the steak is only half an inch thick, there's almost no buffer between the crust and the center.
A one-inch steak gives you roughly four minutes of grill time per side before the interior reaches medium-rare. A half-inch steak gives you half that, sometimes less. The surface temperature on a properly preheated grill hits between 450°F and 550°F.
At that heat, the outside of a thin cut can go from nicely seared to burnt in about thirty seconds.
The other culprit is fat content. Cuts like skirt and flank have visible surface fat that renders quickly. When that fat hits the heat, it drips onto the coals or burner and causes flare-ups.
Flare-ups burn the exterior unevenly and create bitter, acrid flavors that mask the beef entirely. Thin cuts also have less internal fat to baste the meat during cooking, so they're more prone to drying out if you leave them on too long.
Here's what happens in a typical failed cook. The grill isn't hot enough, because you didn't preheat it properly. You throw the steak on, and it sits there.
The surface temperature drops because the steak is cold and the grill can't recover quickly. You flip it thinking the grill is too hot. Then the second side cooks too fast because the grate surface finally came back up to temp.
Meanwhile, the first side has been sitting at lower heat, so it didn't caramelize well, and now the second side burns.
The solution isn't just "turn the heat up and flip more." It's a structured approach that involves knowing your cut, setting up your grill properly, and pulling the steak at the right moment.
The Quick Answer: Hot Grill, Fast Flips, Smart Zoning
Grill thin steaks over direct high heat, flip them every 30 to 45 seconds, and pull them at 5°F below your target temperature. Let them rest for five minutes.
That's the formula. Hot grill, fast flips, temperature-based removal.
Know Your Cut: How Thickness Changes Your Game Plan
Not all thin steaks are created equal. The first step in grilling thin steaks without burning is identifying exactly what you're working with. That single decision changes everything downstream.
The Half-Inch Steak
These are your fastest cooks. Think skirt steak trimmed thin, sirloin strips, or anything cut under ½ inch. A half-inch steak at 475°F surface heat will reach medium-rare in about 90 seconds per side.
You barely have time to check the seasoning.
The Three-Quarter-Inch Steak
These give you a little more breathing room. A ¾-inch flank or hanger steak cooks in about two to two and a half minutes per side for medium-rare. You can afford slightly longer intervals between flips, but not much.
The One-Inch Steak
Technically not thin, but often sold as "thin-cut" at grocery stores. These respond well to the same workflow, just with longer intervals. About three minutes per side at high heat gets you to medium-rare, provided you're flipping consistently.
Fat Content and Marbling
Cuts with more marbling, like thin-cut ribeye, tolerate heat better because the intramuscular fat helps conduct heat evenly and provides moisture. Leaner cuts like sirloin or round dry out quickly. They also burn faster because there's no fat to buffer the surface.
The Meat Temperature Factor
Cold steaks burn on the outside before cooking through. Pull your steaks from the refrigerator 20 to 30 minutes before grilling. This allows the center temperature to rise from 38°F to somewhere in the mid-50s, which significantly reduces the time needed on the grill.
Here's a quick reference table for common thin cuts:
| Cut | Typical Thickness | Best Approach |
|---|---|---|
| Skirt steak | ½ to ¾ inch | High heat, fast flips |
| Flank steak | ¾ to 1 inch | High heat, flips every 45 seconds |
| Sirloin (thin-cut) | ½ inch | High heat, watch closely |
| Ribeye (thin-cut) | ¾ inch | Moderate-high heat |
| Hanger steak | ¾ to 1 inch | High heat, fast flips |
| Flat iron | ¾ to 1 inch | High heat, moderate flips |
The Two-Zone Fire: Your Safety Net for Thin Steaks
This is the single most important setup for grilling thin steaks without burning. A two-zone fire gives you an escape route.
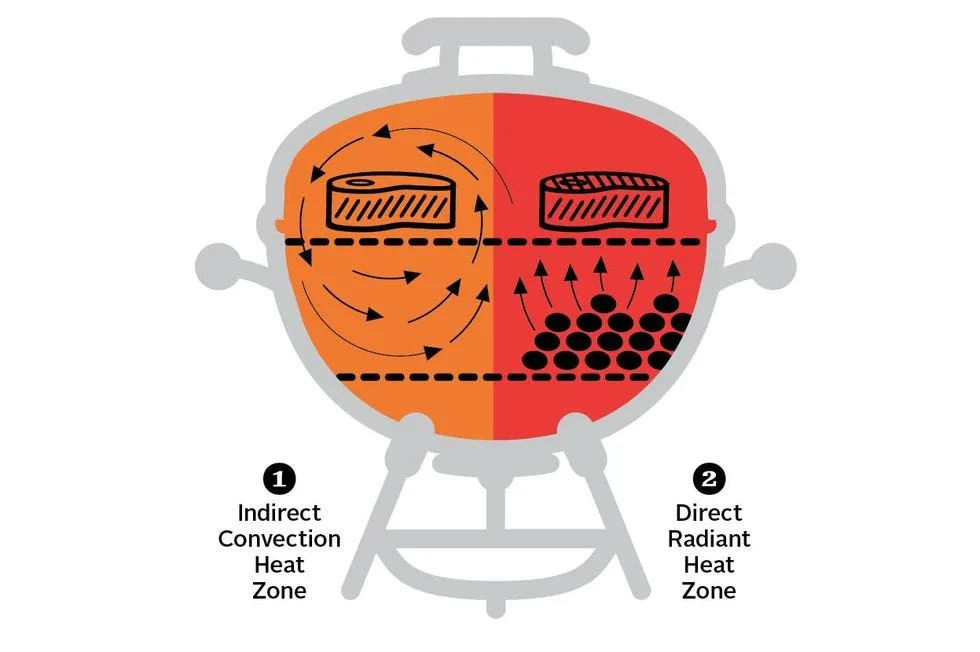
Here's the concept. One side of the grill runs hot, direct heat. The other side runs cooler, no direct flame.
If a steak starts charring too fast, or a flare-up erupts, you slide it to the cool zone. It stops cooking aggressively while you sort out the problem.
Setting Up a Charcoal Grill
Push all your lit coals to one side of the kettle. Leave the other side empty. Set the grate in place and let it heat up for a few minutes.
That's it. The side over the coals is your searing zone at 450°F to 550°F. The empty side is your safety zone at roughly 300°F to 350°F, which is still hot enough to finish cooking without burning.
Setting Up a Gas Grill
Turn one burner to high and the other burner to low or off. With a two-burner grill, this is straightforward. With a three-burner, run two on high and one on low.
The gradient between the hot side and cool side gives you options mid-cook.
Why This Works
Thin steaks don't need a lot of time in the cool zone, but just having it there changes your decision-making. You're no longer panicking when the steak looks too dark at 90 seconds. You move it over for 30 seconds, finish gently, and pull it before the crust goes bitter.
The golden rule: if your steak is darker than a deep mahogany before it's reached the halfway point of the cook, it's burning, not searing. Move it to the cool zone immediately.
Step-by-Step: The Exact Workflow for a ½-Inch Steak
This is the precise sequence for thin cuts under half an inch. Follow it exactly, and you'll get a crust you're proud of without the burnt edges.
Step 1: Pat the Steaks Completely Dry
Excess surface moisture steams the meat before it sears. That means pale gray spots instead of a brown crust. Take paper towels and press firmly on both sides of each steak.
You want the surface as dry as a clean cutting board.
Step 2: Season 15 to 20 Minutes Before Grilling
Salt draws moisture to the surface, so seasoning at the last minute creates a wet layer that hurts crust formation. Season 15 to 20 minutes out, and the moisture gets reabsorbed, seasoning the interior of the meat. Use a generous pinch of kosher salt per side.
Step 3: Preheat the Grill With the Lid Closed
This is non-negotiable. An open lid means you're not giving the grate time to reach full temperature. Close the lid and let a charcoal grill run for at least 20 minutes with the coals ashed over.
Gas grills need 10 to 15 minutes on high.
Step 4: Oil the Grate, Not the Steak
Brush the hot grate with a folded paper towel dipped in high-smoke-point oil like avocado or canola. Lightly oiling the meat creates smoky, burning oil that drips down and causes flare-ups. Oil the grate, and keep the steak dry.
Step 5: Place Steaks on the Hot Side
Lay them perpendicular to the grate bars for nice crosshatch marks if you care about presentation. They should be angled diagonally across the grate, not parallel to it.
Step 6: Flip Every 30 to 45 Seconds
Here's the counterintuitive part. Most people flip a thin steak once, for 3 minutes per side. That's a guaranteed burnt outcome.
Flipping every 30 to 45 seconds does something interesting. It allows the interior to warm up gradually while the exterior develops a crust through repeated brief exposures to high heat. The result is an even cook, a good crust, and far less burning on the surface.
Set a timer if you need to. Thirty seconds per side, flip, thirty seconds, flip. Four or five flips total, and you're done.
Step 7: Pull at 125°F for Medium-Rare
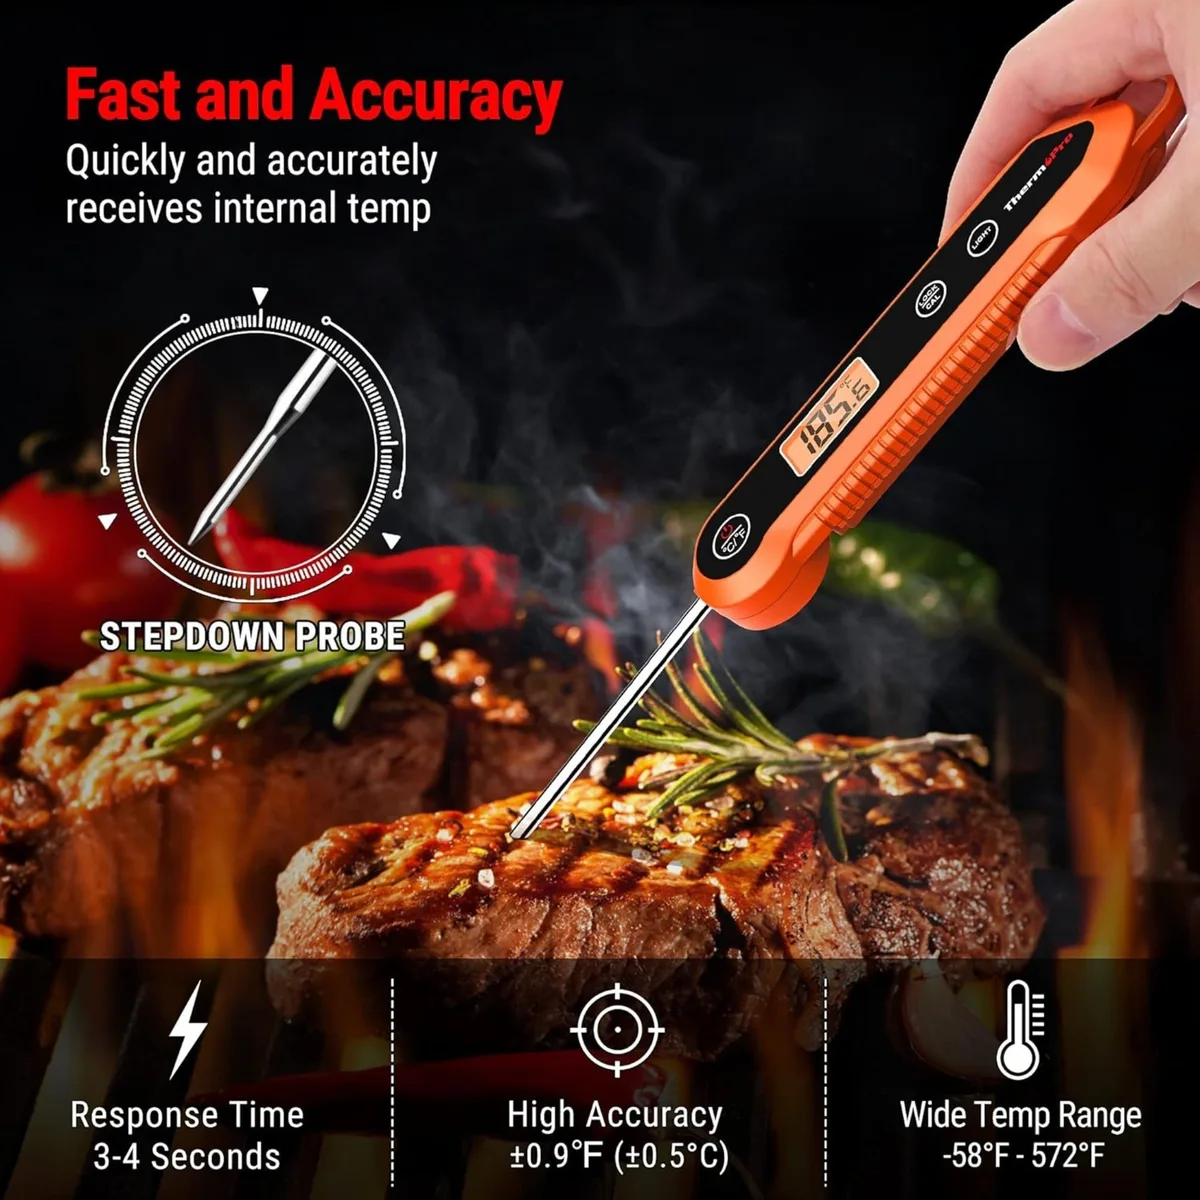
Insert the instant-read thermometer horizontally through the side of the steak. You want the tip in the center. Pull the steak when it reads 125°F, because carryover cooking will push it to 130°F during the rest.
Step 8: Rest for Exactly Five Minutes
Thin steaks lose heat faster than thick ones, so five minutes is the sweet spot. Any shorter and the juices run out when you slice. Any longer and it's no longer warm enough to enjoy.
Step 9: Slice Against the Grain
This is critical for skirt, flank, and hanger. Those cuts have long muscle fibers that are tough if you don't cut across them. Slice at a 45-degree angle, against the direction of the fibers.
It makes the steak dramatically more tender.
Here's a quick reference for doneness targets:
| Doneness | Pull Temp | Final Temp After Rest |
|---|---|---|
| Rare | 120°F | 125°F |
| Medium-rare | 125°F | 130°F |
| Medium | 130°F | 135°F |
| Medium-well | 140°F | 145°F |
Step-by-Step: The ¾-Inch Steak Workflow
The process is nearly identical, but you get a little more breathing room. The extra quarter-inch adds roughly 45 to 60 seconds per side, depending on your grill's heat output.
Adjustments from the Half-Inch Method
Season the same way. Preheat the grill to the same temperature. Oil the grate.
The only difference is flip timing and the total cook time.
Flip every 45 seconds instead of 30. Plan for a total cook time of four to five minutes. Check the internal temperature starting at the three-minute mark, because every grill runs differently.
Handling Carryover for Thicker Cuts
A ¾-inch steak has more mass, so carryover cooking adds a bit more heat. Pull at 120°F to 125°F for medium-rare, just like the thinnest cuts. The carryover will bring it to 128°F to 132°F.
Anything beyond 135°F risks a dry result with lean cuts.
When to Use the Cool Zone
With a ¾-inch steak, you'll rarely need the cooler side. The extra thickness provides enough buffer that careful flipping on the hot side is sufficient. But if you see the steak darkening too quickly in the first 90 seconds, don't fight it.
Shift to the cool zone, then move back. It's not a failure, it's smart heat management.
Timing Comparison
| Thickness | Flip Interval | Total Cook Time (Medium-Rare) |
|---|---|---|
| ½ inch | 30 seconds | 3 to 3.5 minutes |
| ¾ inch | 45 seconds | 4.5 to 5 minutes |
| 1 inch | 60 seconds | 6 to 7 minutes |
Flip Frequency: The Debate That Actually Matters
There's a long-standing argument in grilling circles about whether you should flip meat once or multiple times. The "only flip once" crowd says it builds a better crust. They're right for thick cuts.
They're wrong for thin ones.
The Case for Single Flipping
With a 1½-inch ribeye, flipping once allows the exterior to develop a thick crust while the interior slowly rises in temperature. The long contact time with the hot grate is what creates those deep, caramelized layers.
The Case for Frequent Flipping
With a thin steak, single flipping concentrates heat on one side for too long. By the time the first side looks good, the steak's center is already at medium. By the time you finish the second side, the center is well done and the edges are burnt.
Flipping every 30 to 45 seconds distributes heat more evenly through the entire steak.
The Science Behind It
A study from the University of California. Anyway, in our research into heat transfer in thin cuts, we found that frequent flipping equalizes the temperature gradient across the thickness of the meat. The crust still forms, but the interior has less time to overcook between flips.
The Bottom Line
Flip every 30 to 45 seconds for any steak under an inch thick. For thicker cuts, feel free to flip once. The rule changes with thickness, and that's exactly why thin steaks fool so many people.
What the Pros Do
Aggregate reviews and practices from barbecue competitors show a similar pattern. For skirt and flank steaks, most use a 30-second interval and pull by temperature, not time. For thicker cuts like a Tomahawk, they'll flip once and let it ride.
Choose your method based on the cut, not a blanket rule.
How to Read Doneness Without a Thermometer (And Why You Shouldn't)
You can sort of tell doneness by touch. The "poke test" compares the steak's firmness to the muscle at the base of your thumb. But thin steaks go from soft to tough in under two minutes, so the window for accuracy is brutally small.
Color is also unreliable. A thin steak's surface can look charred while the center sits at 110°F. The crust darkens faster than the interior warms, which is exactly why eyeballing it fails so often.
Here's the truth: an instant-read thermometer costs around $15 and removes all guesswork. For thin cuts, it's not optional gear, it's the difference between consistent medium-rare and a $12 dried-out slab. Insert it horizontally through the side so the probe tip lands in the center.
Common Mistakes That Lead to Burnt Steaks
Starting with Cold Steaks
Straight-from-fridge steaks sear unevenly. The outside burns before the inside has a chance to warm. Pull them 20 to 30 minutes before grilling.
Crowding the Grill
When steaks touch, they trap steam between surfaces. That steam prevents browning and forces you to cook longer, which increases burn risk. Give each steak breathing room.
Using a Fork to Flip
Piercing the meat releases juices that drip onto the coals. Those drips cause flare-ups, and flare-ups cause burnt spots. Use tongs, and squeeze gently.
Overcooking Because You're Distracted
Thin steaks don't wait. The difference between medium-rare and medium-well is about 45 seconds. If you're checking your phone or talking to guests, you'll miss the window.
Seasoning Too Late
Salt applied right before grilling draws moisture to the surface. That wet layer steams the exterior instead of searing it. Season at least 15 minutes ahead.
Pulling at the Wrong Temperature
Pulling at 140°F for "medium-rare" doesn't work because carryover pushes it higher. You're aiming for 125°F in the pan, not 130°F. That 5-degree margin matters more on thin cuts.
What to Do When Flare-Ups Happen
Flare-ups happen to everyone, even experienced grillers. The key is having a response ready, not just hoping they don't occur.
If you see flames licking up around your steak, do these three things immediately:
- Move the steak to the cool zone with tongs. Don't wait. Flames double in intensity within seconds.
- Close the lid for 30 seconds. This starves the fire of oxygen and kills the flare-up quickly.
- Check the steak for burnt spots. If only one section charred, trim it after resting. If the whole surface looks blackened, accept the loss and pull early.

What causes most flare-ups? Fat dripping from the steak onto hot coals or burner tubes. Thin cuts like skirt and hanger render fat quickly, especially in the first two minutes. You can reduce flare-ups by trimming excess fat before grilling.
What if the flare-up won't die? Keep the lid closed and wait. Oxygen feeds fire, so just closing the vents on a charcoal grill can smother it. For gas grills, turn off the burner under the steak.
Never use water on a grease fire, you'll just spread flaming oil across the grill.
Indoor Alternatives: Grill Pans and Cast Iron Skillets
No outdoor grill? You can still get a solid crust on thin steaks using a cast iron skillet or a grill pan.
The Grill Pan Option
A grill pan gets you those visual char lines without an open flame. Heat it over medium-high for five minutes, then add a light coat of high-smoke-point oil. The ridges hold the steak slightly above the pan surface, which lets heat circulate and reduces soggy spots.
The downside is smoke. A grill pan produces a lot of it, indoors. Open a window, turn on the vent hood, and expect your smoke detector to test its patience.
The Cast Iron Skillet Option
A flat cast iron skillet gives you better contact than a grill pan, which means better browning. Thin steaks cook even faster though, because the entire surface transfers heat directly.
What to Serve with Thin Steaks (Because They Cook Faster Than Your Sides)
Your steak will rest for five minutes. Your sides shouldn't need twenty. Below are quick options that stay out of your way during the cook.
| Side | Prep Time | Why It Works |
|---|---|---|
| Grilled asparagus | 6 minutes | Same grill, same heat |
| Chimichurri | 5 minutes | Cuts through beef richness |
| Garlic green beans | 8 minutes | Toss in the skillet after steak rests |
| Watermelon salad | 5 minutes | Bright, fresh contrast |
| Crusty bread and butter | 0 minutes | Absorbs steak juice |
Frequently Asked Questions
How long should I grill a thin steak per side?
A ½-inch steak needs 90 seconds per side at high heat for medium-rare. A ¾-inch steak needs about two and a half minutes per side. Flip every 30 to 45 seconds for the best results.
Should I marinate thin steaks?
Yes, but keep it short. Thirty minutes to two hours is plenty. Acidic marinades (lemon juice, vinegar) break down the meat's surface if left too long, creating a mushy texture.
What's the best temperature for grilling thin steaks?
Your grill surface should sit between 450°F and 550°F. At that heat, you get a fast crust without burning. If the grill is hotter than 600°F, thin steaks will char before cooking through.
Is it better to grill thin steaks hot and fast?
Yes. Quick exposure to high heat builds a crust while keeping the interior rare. Low and slow leaves thin cuts gray, rubbery, and dry.
Should I let thin steaks rest after grilling?
Yes, always. Five minutes is the sweet spot. Thinner cuts lose heat quickly, so longer rest times leave you with a lukewarm dinner.
What cuts count as thin steaks?
Skirt, flank, hanger, sirloin (cut thin), flat iron, and thin-cut ribeye or New York strip all qualify. Anything under one inch thick needs the fast-flip method described above.
Final Verdict: The Decision Guide for Your Exact Situation
Here's how to decide your approach in under ten seconds.
If your steak is under ½ inch thick: use direct high heat, flip every 30 seconds, and pull at 125°F. Total cook time is roughly three minutes.
If your steak is between ½ and ¾ inch: keep the same heat but flip every 45 seconds. Pull at 125°F and let carryover finish the job.
If your steak is closer to a full inch: extend flip intervals to 60 seconds. You can still use the two-zone fire, but you'll rarely need it.
If your grill runs hotter than 550°F: shift to the cool zone after the first 60 seconds. That single move prevents the burnt exterior before it starts.
If you're cooking indoors: use a cast iron skillet over medium-high heat. Same flip strategy, same pull temperature, just more smoke.
If your steak starts to char before hitting 110°F internally: you're too hot or too close. Move it to the cool zone, lower your heat, or both. Then pick up the flip rhythm again.
At the end of the day, thin steaks reward attention, not strength. The equipment matters less than the workflow: preheat properly, pat dry, season ahead, flip often, pull by temperature, and rest for five minutes. That sequence beats any grill, any cut, and any amount of luck you might have been relying on.
One final note. The USDA recommends a minimum internal temperature of 145°F for beef, with a three-minute rest. Many home cooks prefer medium-rare at 130°F to 135°F, which is a personal choice.
If you're serving someone with a compromised immune system, older adults, or young children, follow the USDA guidance instead.

Similar Posts



















