What to Clean After Every Grilling Session: Checklist
You fire up the grill, cook a great meal, and then the hard part hits. Nobody wants to scrub for an hour. But skip the cleanup and the grill turns into a sticky, rusty, fire-prone mess.
So what should i clean after every grilling session? That's the real question. You don't need to deep-clean the whole grill every time.
But a few spots need attention right away.
Most manufacturers and safety groups, including the National Fire Protection Association, point to grease buildup as the number one cause of grill fires. Their data shows most outdoor grill fires start because someone ignored the drip tray or the burners. So the goal isn't to polish the grill.
The goal is to stop buildup before it hardens, stick, or catches fire. We'll walk through exactly where to focus after the food comes off. Then you'll never lose a Saturday to a crusted-over cookbox.

Quick Answer
What should i clean after every grilling session? Clean the grates. Remove food bits.
Empty the drip tray. Wipe down the outside. Oil cast iron grates.
That's it. The burn-off already did most of the work. Grease is the real target after every cook.
Why This Changes Based on Your Grill Type
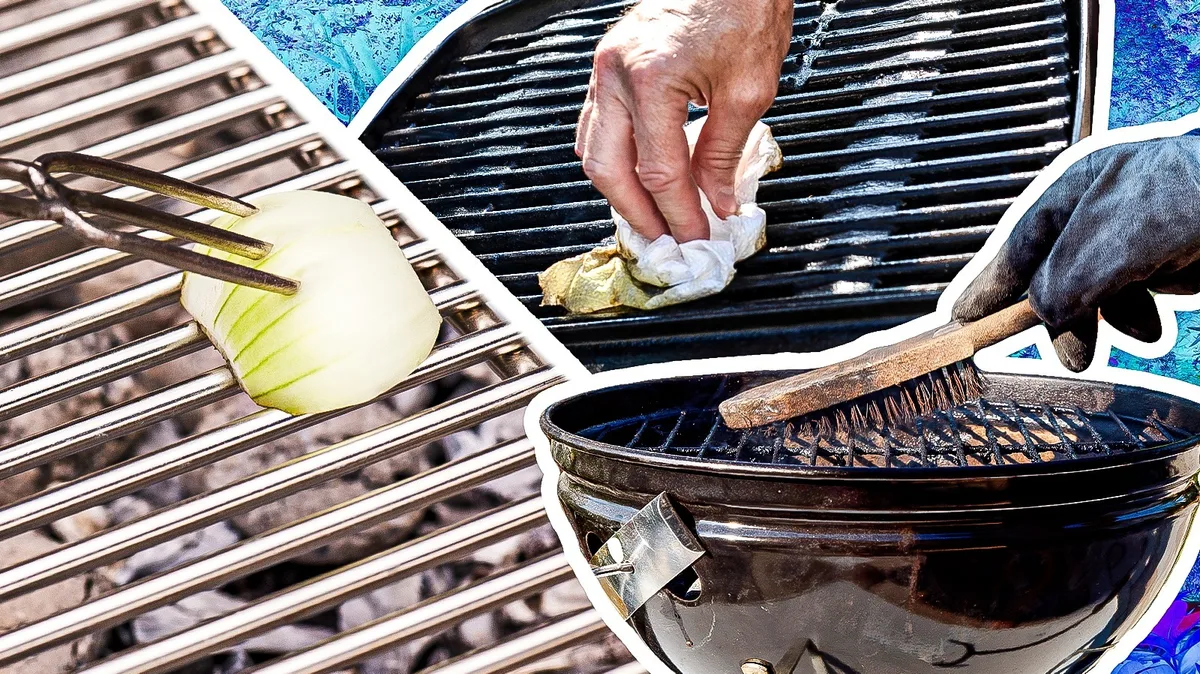
A $200 charcoal kettle and a $1,500 pellet smoker don't need the same after-cook routine. Porcelain-coated grates and raw cast iron react differently to water. A gas grill with flavorizer bars has places for grease to hide.
A pellet grill has an auger tube and a firepot that collect ash and fat. If you use a flat-top griddle, the rules change again.
Manufacturer care manuals and owner guides all agree on one point: the first thing to check is what material your grates are made of. Cast iron needs seasoning. Porcelain-coated steel doesn't need oil.
Stainless steel can take more aggressive scrubbing. So the first branch in the decision tree is grate material. The second branch is the fuel type.
Heat source changes where grease drips, how much ash is left, and whether you need to empty a firebox.
The image below shows why the same question gets different answers. One photo of three different grill interiors tells the whole story.
So here's the decision tree in plain English. For a gas grill, you clean the grates, the drip tray, and the inside of the lid where grease splatters. For a charcoal grill, you clean the grates and the ash catcher, then toss the ash.
For a pellet grill, you clean the grates and the grease bucket, then check the firepot for excess ash. Every type also needs the outside wiped down. That's the whole game.
The 10-Minute Post-Grill Cleanup You Can’t Skip
Here's the mental model. After you pull the food off, the grill is at its easiest cleanup moment. Heat has loosened baked-on sugars, oil, and carbon.
The most stubborn crud is soft right then. Wait an hour and that residue sets like concrete. So the first rule is simple.
Start while the grates are still warm. You don't need soap on the grates. Hot water and a brush handle almost everything.
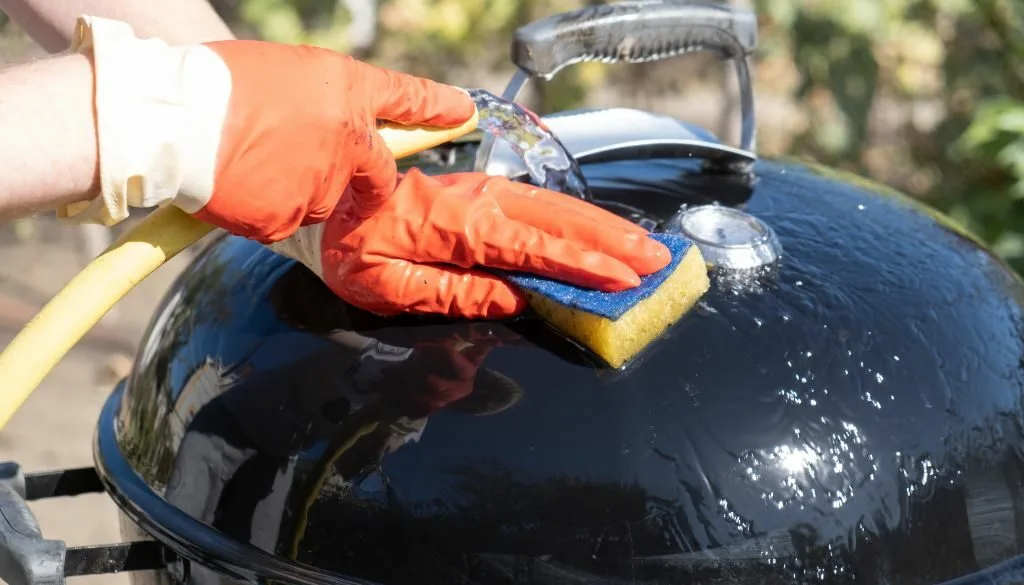
A 10-minute routine prevents a 50-minute degreasing session later. The steps below assume a gas or charcoal grill since pellet grills add an extra firepot check. Do these in this order.
Fifteen minutes before you cook, do a quick burn-off. Run the grill on high for 5 to 10 minutes. That loosens everything.
When the food comes off, leave one burner on low or keep the charcoal warm. The heat keeps oil from hardening.
Scrape the warm grates with a grill brush or a bristle-free pad. Use short strokes. Work fast. The residue lifts off easily.
Wipe the grates with a damp cloth or a paper towel. This catches loose bits before they fall into the firebox.
Pull the drip tray out. Empty it. Then wipe the pan with a paper towel. Don't wash a hot grease pan in the sink. The hot oil could burn you and the grease can clog your drain. Wait for it to cool before full washing. Most trays come out with a handle.
Wipe the outside of the lid and the shelves. Grease from smoke and meat splatters there. A dry microfiber cloth is all you need.
That's it. The grates, the drip tray, and the outside. That ten minutes saves you from rust and flare-ups.
Clean as of 2026 standards. That's the whole routine.
What Actually Needs Cleaning After Every Session
A lot of new grillers think the grates are the only thing that needs attention. But two other spots matter more for safety. Those are the grease trap and the inside walls.
The grates are where food sticks. But the grease catch pan is where the fire starts. So the real answer to what to clean after each grilling session is a short list.
You clean the grates for flavor and rust prevention. You clean the drip tray for fire safety. You wipe the outside for appearances.
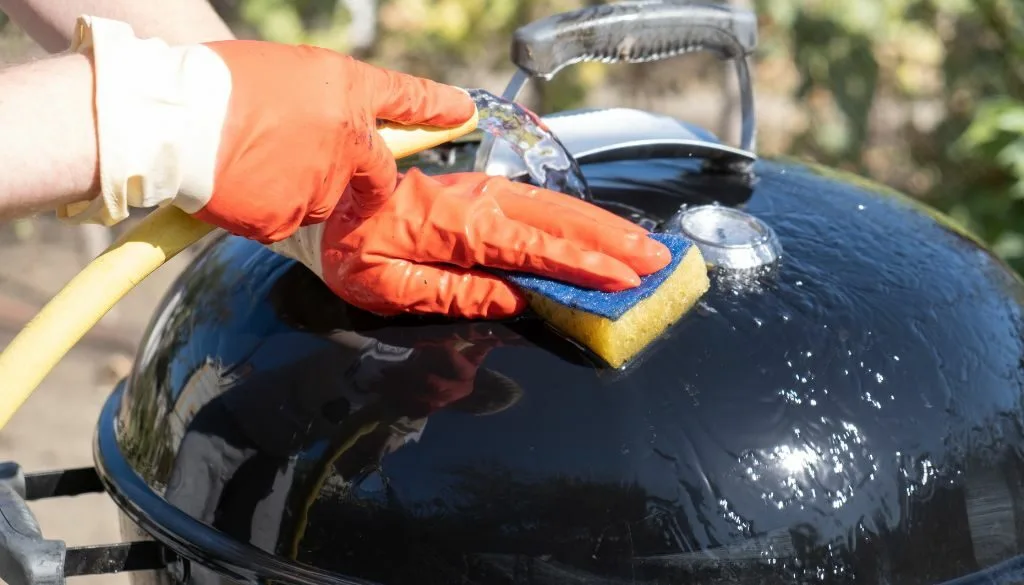
Use this table to see the five zones to hit. The table splits between what a casual griller can skip and what a safety-minded owner must do.
| Zone | Every Session? | Reason |
|---|---|---|
| Grates | Yes | Stops rust and sticking |
| Drip tray | Yes | Grease fires start here |
| Interior walls | Quick wipe | Grease splatters |
| Outside | Wipe | Keeps gunk out of hinges |
| Ash (charcoal/pellet) | Empty after each cook of high-fat meats | Clogs airflow |
A few things you can leave alone. Avoid scrubbing flavorizer bars after every session. Those sit under the grates.
Grease on them will burn off at the next burn-off. So don't waste time there. You can do a full deep clean once a month.
But after every session means five minutes of targeted work. That's the only way to keep a grill running like it did on day one.
Gas vs. Charcoal vs. Pellet: Where the Work Differs
Three common fuels create three different grime patterns. Gas grills shoot flames up through bars and drip grease down into a removable tray. Charcoal grills burn hot and the ash falls into a catch pan under the fire grate.
Pellet grills feed wood in through an auger and drain grease into a bucket on the side. You cannot treat them the same. So here's the branch-by-branch guide.
If you run a gas grill, you'll empty the drip tray after every cook. Check the grease channel that slopes to the tray. A dry paper towel works.
Never leave the tray full and then fire the grill. That's how grease fires start. For charcoal, once the coals are fully out and cold, you'll lift the ash catcher and dump it.
Do not dump hot ash into a trash can. It smolders for hours. For a pellet grill, you'll empty the grease bucket and scrap any fat from the drip pan.
Then every three to five cooks, vacuum out the firepot and the auger tube. Ashes mixing with grease there is a fast way to ruin an auger motor.
The table below summarizes what's every-session versus occasional by fuel type.
| Duty | Gas Grill | Charcoal Grill | Pellet Grill |
|---|---|---|---|
| Grate scrape | Every cook | Every cook | Every cook |
| Drip tray | Every cook | Not present | Grease bucket every cook |
| Ash removal | Not present | Every cook, after cooling | Every 3 to 5 cooks |
| Firepot check | Not present | Not present | Every 3 to 5 cooks |
| Outside wipe | Every cook | Every cook | Every cook |
So the big lesson is the extra attention a pellet grill demands. Gas and charcoal are more forgiving if you skip one night. But a pellet grill needs its ash out regularly.
Fat plus sawdust is basically a candle under the food.
Cast Iron Grates: The Seasoning Rule That Changes Everything
Cast iron grates are the one place where cleaning after every session can backfire. If you soak them in soapy water or scrub hard with a wire brush, you strip the seasoning. Then within two weeks in a humid garage, they're orange with rust.
So the rule for raw cast iron is different from stainless or porcelain. Clean it yes. But then re-oil it.
That thin fat layer is what keeps the iron from rusting and the food from sticking.
The seasoning process is easy but timing matters. As soon as the grates come off the heat and you've scraped them, the pores are open. That's when oil soaks in.
Use a high-smoke-point oil like canola, grapeseed, or vegetable. Don't use olive oil. The smoke point is too low.
It'll leave a sticky residue. Fold a paper towel, dip it in oil, and rub a light coat on every surface. Then let the grill cool.
The residual heat polymerizes the oil into a hard skin. That's the seasoning.
If your cast iron grates are already rusted, don't panic. Remove them, scrub with a mild dish soap and a stainless steel scrubber to get the rust off. Rinse.
Dry them completely on the grill's high heat. Then oil them. Two or three sessions of this and the grates look dark and glossy again.
But the after-every-session rule stays the same. Scrape. Wipe.
Oil. You skip the oil and you'll pay for it later.
Cast iron also takes longer to heat evenly but holds heat better than stainless. That's why so many charcoal purists prefer it. The tradeoff is the maintenance.
If you don't want to oil after each cook, buy a porcelain-coated or stainless steel grate. Then a simple scrape is all you need. But if you have cast iron, treat it like a cast iron skillet.
The same care rules apply.
At this point you know the five zones and the fuel differences. The next sections in the full guide walk you through the hot-versus-cold workflow, high-fat follow-ups, and the mistakes that cause rust. But for the daily after-cook routine, you now have the right order of operations.
Grease Management: The Fire Risk Hiding Under the Burners
The drip tray and grease channels are where most grill fires begin. Grease builds up there fast. If you cook burgers or fatty chicken thighs, a single session can dump two to three tablespoons of rendered fat into the pan.
That grease doesn't evaporate. It just sits there, waiting for the next high-heat cook.
Here's the simple rule. Empty the tray after every cook. Don't wait until it looks full.
A half-full tray can still flare up when flames lick through the firebox. And never leave a full tray under the grill while you preheat for the next session. That's the exact scenario fire safety groups warn about.
Some gas grills have a slide-out tray under the burners. Others use a hanging bucket on the side. Both work the same way.
Pull it out, scrape the solids into a metal can, and wipe the tray with a paper towel. For pellet grills, the grease bucket hangs off the side. Check it after every cook during summer.
High outdoor heat plus old grease is a recipe for insects and rancid smells.
If you want to skip one thing, skip the interior deep clean. But never skip the grease tray. That's the one spot where the stakes are actually serious.
Step-by-Step Workflow: While It’s Hot vs. After It Cools
There are two ways to clean a grill after cooking. Clean while hot. Or clean after cooling.
Both work. But they target different problems. Hot cleaning removes food residue in seconds.
Cool cleaning handles grease and dust more safely.
The hot method works best right after you pull the food off. Keep the burners on low or the charcoal still glowing. Scrape the grates with a stiff brush while the heat softens the crud.
Then wipe with a damp cloth. This works for thin marinades and sticky barbecue sauce. After that, shut the grill down and let it cool.
The cool method starts the next morning. The grill is fully cold. You can safely reach into the firebox without burning yourself.
Soap and water are okay now on the grates, though you'll need to re-season cast iron. Remove the drip tray and wash it in the sink. Cool cleaning is better for routine grease management.
But cold residue is harder to scrub off the grates.
Here's a hybrid that most experienced grillers use. Do the hot scrape right after cooking. Then handle the tray and outside once the grill is cool enough to touch safely.
That gives you the easy hot cleanup without wrestling a hot grease pan.
Follow-Up for High-Fat Cooks: Burgers, Chicken Thighs, and Sausage
Some meals leave more residue than others. Burgers, chicken thighs, sausage, and pork shoulder render a lot of fat. That fat drips onto the flavorizer bars, the drip pan, and the inside walls.
The cleanup after these cooks needs about five extra minutes.
If you just grilled burgers, check the drip tray twice. Once right after cooking. Then again before the next session.
Sometimes grease keeps rendering and dripping for an hour after the grill is off. Overnight, it pools in one end of the tray. A quick look the next morning takes ten seconds.
Sausage and chicken thighs also leave sticky skin residue on the grates. Do a second scrape after the grates cool. The cooked-on skin lifts off easier when it's brittle.
Don't wait days though. Then it bonds with the metal.
For these high-fat cooks, a paper towel tucked under the scrape is enough. You don't need special cleaners. The main fix is frequency.
Empty the tray every single time, not every other time.
Mistakes That Turn a Quick Clean Into a Rusted Mess
A few common habits do more harm than good. The biggest one is soaking porcelain-coated grates in water. The coating chips.
Then bare metal rusts underneath. Another mistake is scraping a hot porcelain grate with a metal grill brush. The metal digs into the finish.
Here are the five mistakes to avoid after every session.
Drenching hot cast iron in cold water. Thermal shock cracks the seasoning.
Leaving the grill uncovered with the drip tray still full. Rainwater mixes with grease and runs everywhere.
Using oven cleaner on grill grates. It strips seasoning and leaves toxic residue that can transfer to food.
Storing a charcoal grill with wet ash in the bottom. The ash turns acidic and eats through the metal.
Scrubbing stainless steel with steel wool. It scratches the surface and invites rust in humid weather.
If you want grates to stay rust-free, keep water away from them while hot. And always oil raw cast iron. Those two habits prevent ninety percent of rust complaints.
Quick Decision Guide: What to Clean Based on What You Grilled
Not every meal demands the same cleanup. Here's a fast decision tree. Match what you cooked to the right after-session routine.
For steak, chicken breast, fish, or vegetables. Just do the standard scrape, drip tray check, and outside wipe. These foods leave light residue.
For burgers, sausages, chicken thighs, or pork chops. Empty the drip tray completely. Do a second grate scrape once cool. Check the grease channels.
For ribs, brisket, or pulled pork. Empty the drip tray and the grease bucket immediately. Wipe down the inside of the lid. Ash buildup in a pellet grill needs checking after long smokes.
For anything with sugary sauces or marinades. Scrape while hot. Sugar caramelizes and hardens like glass if it cools. A second hot-water wipe helps.
So the answer depends on fat and sugar content. Lean and dry foods need a light touch. Fatty and sugary foods need aggressive, fast action before things set.
Keep that in mind and you'll never guess wrong after a cook.
The remaining sections of this guide cover expert tips for faster cleanups and answer the most common questions about post-grill maintenance.
[
  {
    "name": "categoryId": 0,
    "categoryId":09: "name": "categoriesId", "categoryId":0 "categoriesId, 0 "categories",  "series": [0 " ";0  " "         "}[
{
  {
 "productName": "name": "What should": [ 0, 100, 0 1  "
"}
 "products: [
  ]:  "products: [ { " ", "productId": "", "productName": " }, { "        }
" }}
"    }
"serviceId": 0 "serviceId":0
"    }
  }[  "   }
]
Expert Tips for Faster, Safer Cleanups Without a Wire Brush
If you worry about loose bristles, switch to a bristle-free pad, wooden scraper, or crumpled foil. The Consumer Product Safety Commission warns about injuries from loose wire bristles. If you still use a wire brush, inspect the grates before cooking.
For sticky sauce, use heat first. Turn one burner to high for five minutes, then scrape. For cooled gunk, use warm water and a nylon scraper.
Avoid soap on cast iron unless rust forces it.
Keep a dedicated grease can nearby. Scrape fat into it, not into trash or sink. This prevents drain clogs and reduces fire risk.
Frequently Asked Questions
Should I clean grill grates after every use?
Yes. Clean grates after every use while warm. This stops food from hardening and reduces sticking.
It also helps prevent rust on cast iron if you oil afterward.
Do I need to empty the drip tray every time?
Yes. Empty the drip tray after every session. Grease buildup can flare up during the next cook.
It can also attract pests and create bad odors.
Can I use soap on grill grates?
Sometimes. Soap is fine on stainless or porcelain grates if you rinse and dry them well. Avoid soap on cast iron unless you are removing rust, then reseason immediately.
What is the safest way to dispose of grill grease?
Let grease cool fully. Scrape it into a metal can or sealed container. Never pour hot grease into trash, and never pour it down a sink.

Similar Posts



















