The Science of Low-Heat Grilling: A Full Guide
You've probably set your grill to "low" before and watched the temperature creep past 350°F anyway. We've all been there. That's not low-heat grilling, and the difference matters more than you might think.
Learning how to grill using low heat means keeping your grill locked between 225°F and 275°F for extended periods. That narrow window is where tough cuts like brisket and pork shoulder transform into tender, juicy barbecue. As of 2026, most home grill owners still struggle with this because they treat "low" as a dial position rather than a controlled environment.
In our research, the disconnect comes down to airflow management, coal placement, and understanding how your specific grill holds heat.
Quick Answer
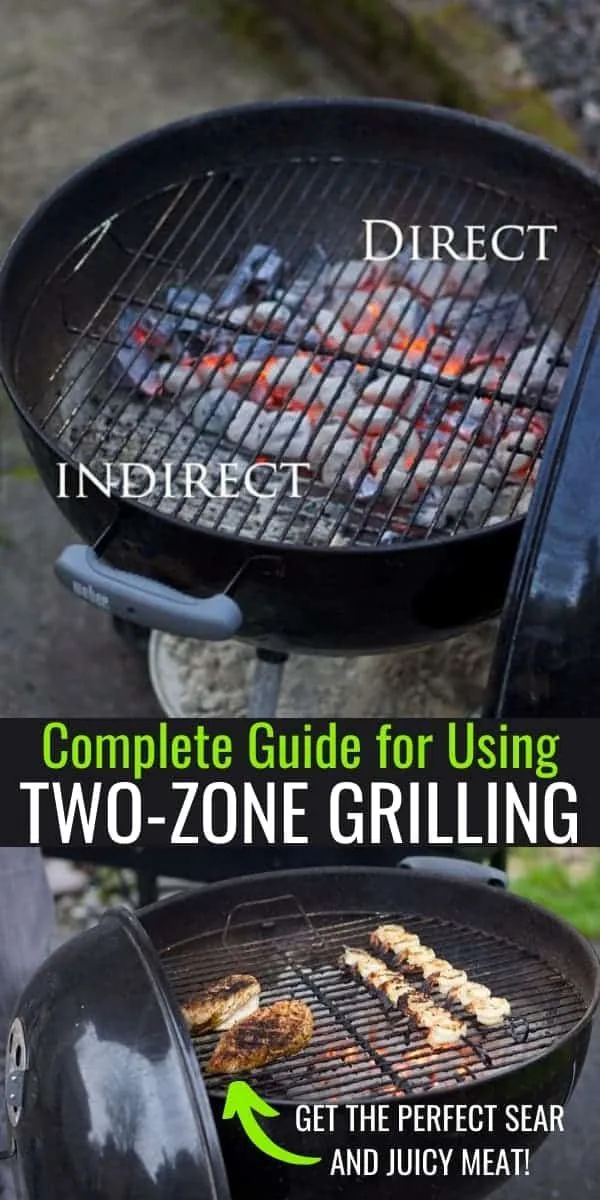
Master the two-zone fire. Bank coals on one side. Place food on the other side.
Adjust vents to control oxygen. Target 225°F to 275°F. Use a chimney starter for even ignition.
Add a drip pan to catch fat.
The Problem: Why Your "Low" Setting Isn't Low Enough
Your gas grill's "low" knob doesn't mean what you think it means. That little dial controls fuel flow to the burner, but it doesn't account for heat buildup inside the hood. A 3-burner gas grill running on low with the lid closed can easily push past 300°F.
Aggregate user reviews report this constantly.
Charcoal grills have the opposite problem. Most people dump a full chimney of lit coals into the center and call it a day. That's direct high heat, typically 400°F and climbing.
You lose the ability to slow-cook anything without burning the outside layer.
The real culprit is airflow. Heat isn't the enemy. Uncontrolled heat is.
When you grill over direct flames, radiant heat hits the meat surface aggressively. That's perfect for searing steaks but terrible for breaking down connective tissue. Collagen needs sustained temperatures over hours, not a blast of infrared energy.
Manufacturer specifications confirm this. Weber's manual for the classic kettle grill, for example, explains that the bottom vents control temperature while the top vent controls smoke and moisture. Most users never touch those vents.
They flip the dial, close the lid, and wonder why dinner comes out tough.
| Common Mistake | Actual Result | Fix |
|---|---|---|
| Gas grill on "low" with lid closed | 300°F+ heat creep | Use only outer burners |
| Full chimney of coals dumped center | 400°F direct heat | Bank coals to one side |
| Bottom vents wide open | Temperature spikes | Close vents to 25% open |
| Opening lid every few minutes | Heat loss per open | Keep lid closed |
How Low-Heat Grilling Actually Works
The science is straightforward once you understand what's happening at the molecular level. Heat causes collagen, the connective tissue holding muscle fibers together, to break down into gelatin. That process starts around 160°F but happens best between 200°F and 250°F.
At higher temperatures, the muscle fibers contract rapidly and squeeze out moisture. At low heat, that contraction happens slowly, allowing fat to render and baste the meat from within. The result is a moist, tender bite rather than a dry, chewy disappointment.
Smoke flavor works differently too. When wood burns cleanly at lower temperatures, it produces a thin, bluish smoke that penetrates meat gradually. Crank the heat up, and you get thick, white, acrid smoke.
That's creosote depositing on the surface, which tastes bitter and sooty.
The stall is another piece of the puzzle. Around 150°F to 170°F, evaporation from the meat's surface cools it down. The temperature plateaus for hours.
Beginners panic and crank the heat. Pro grillers wait. That's why understanding heat zones is critical.
Why Clean Smoke Matters
Clean smoke is the difference between award-winning barbecue and a fire hazard. When wood smolders at high heat, it releases phenols and creosote compounds. These coat the meat in a black, bitter film.
Low, steady heat produces cleaner combustion. The smoke looks barely visible, almost transparent. That's what you're after.
Before You Start: The Equipment Check
You don't need a $2,000 smoker to nail low-heat grilling. But you do need a few essentials that separate controlled cooks from frustrating failures.
Thermometer. This is non-negotiable. The dial thermometer bolted to your grill lid is notoriously inaccurate, often reading 50°F off. An instant-read digital thermometer gives you accurate internal meat temps.
A grill surface thermometer tells you what's actually happening at the grate level. Buy both if you can.
Chimney starter. Skip the lighter fluid. It leaves a petroleum taste that no amount of smoke covers up. A chimney starter uses newspaper to ignite coals evenly without chemical residue.
This gives you a consistent bed of lit coals rather than half-charred lumps.
Drip pan or heat diffuser. An aluminum pan filled with water or sand serves two jobs. It catches rendered fat before it hits the coals, preventing flare-ups. It also adds thermal mass, absorbing temperature spikes and smoothing out heat fluctuations.
Wood chunks. Forget chips for low-heat cooks. Chips burn up too quickly and create wild temperature swings. Fist-sized chunks of oak, hickory, or apple smolder slowly, releasing that clean smoke we discussed.
Matching Your Grill Type
Different grills demand different strategies. A kettle-style charcoal grill is the most forgiving starting point. The bowl shape directs airflow well, and you can easily create a two-zone setup.
Kamado grills excel at heat retention thanks to thick ceramic walls. Gas grills need a two-burner approach or a smoker box.
The Step-by-Step Workflow: Charcoal Grill
Charcoal gives you the most control once you understand the mechanics. Here's how to execute a flawless low-heat cook on a kettle grill.
Step 1: Light the chimney. Fill the chimney with briquettes or lump charcoal. Crumple two sheets of newspaper in the bottom chamber. Light it and wait 20 to 25 minutes.
You want the top coals covered with a thin layer of gray ash. This means they're fully lit and ready to go.
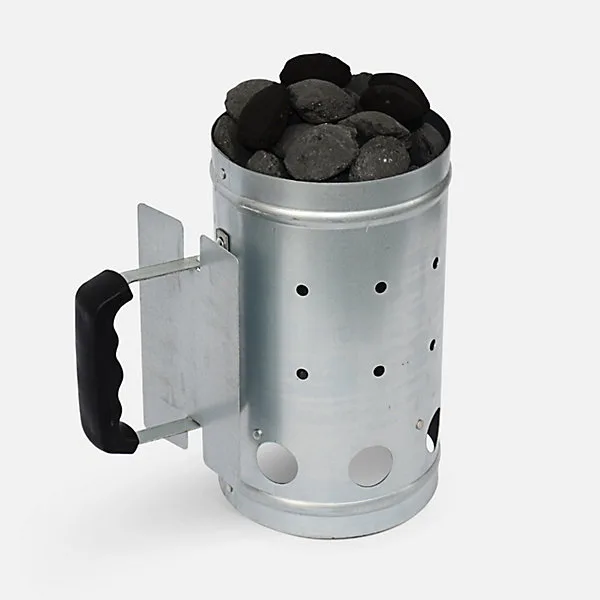
Step 2: Arrange your coals. Pour the lit coals to one side of the grill. Keep them banked against the wall. Leave the other side completely empty.
If you're using a kettle grill, this creates the classic two-zone setup. For longer cooks, use the snake method: place unlit coals in a line around the edge, then top them with a few lit coals at one end. The fire travels slowly along the snake.
Step 3: Set your vents. The bottom vents control the fire's intensity. Oxygen fuels combustion. Less oxygen means cooler burns.
Close the bottom vent to about 25% open. Keep the top vent fully open so stale smoke can escape. This is counterintuitive but critical: the top vent removes air, which draws fresh oxygen in through the bottom.
Step 4: Preheat and stabilize. Place the grate on and close the lid. Wait 15 to 20 minutes for the temperature to rise and settle. If it overshoots, close the bottom vent further.
If it's crawling too slowly, crack it open. Be patient. The goal is a steady 225°F to 250°F, not a sprint.
Step 5: Cook with the lid down. This is the hardest habit to break. Every time you open the lid, you lose heat and introduce oxygen spikes. Plan to keep the lid closed for at least an hour between checks.
| Step | Action | Time |
|---|---|---|
| 1 | Light chimney starter | 20–25 min |
| 2 | Bank coals to one side | 2 min |
| 3 | Adjust bottom vent to 25% | 1 min |
| 4 | Preheat with lid closed | 15–20 min |
| 5 | Place food and walk away | 60+ min |
The Step-by-Step Workflow: Gas Grill
Gas grills make low-heat grilling more accessible for beginners. You sacrifice some smoky flavor, but you gain consistent temperatures with minimal babysitting.
Step 1: Light only the outer burners. On a 3-burner grill, fire up the left and right burners. Leave the center burner off. This creates a buffer zone in the middle where heat is indirect.
On a 2-burner grill, light one side only and place food on the other.
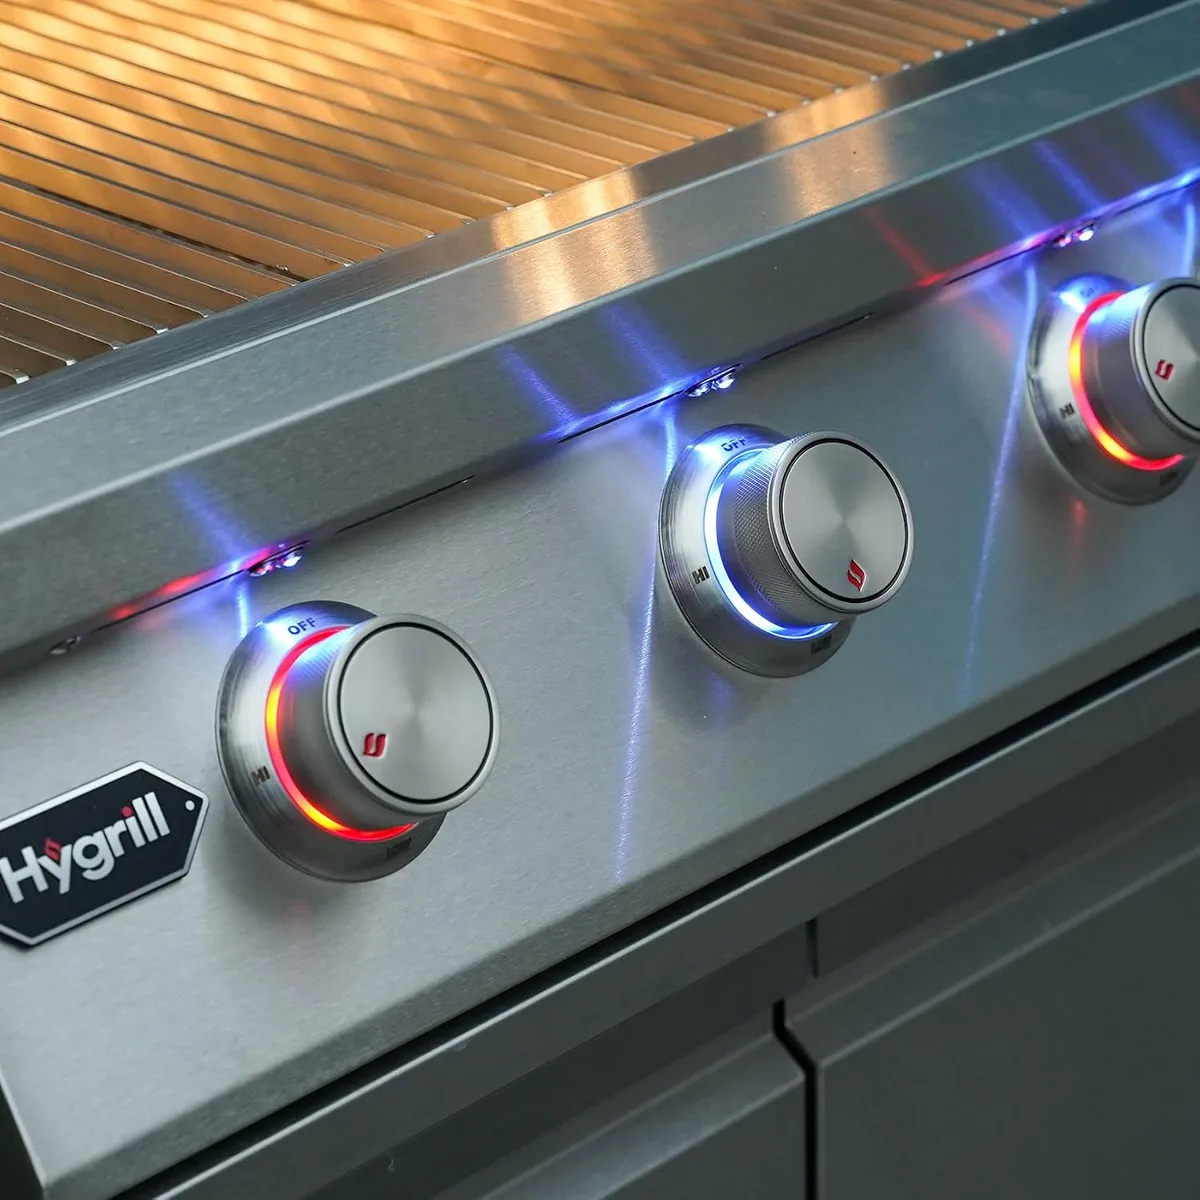
Step 2: Set dials to the sweet spot. Manufacturer specifications vary, but most gas grills maintain 225°F to 250°F when outer burners sit between "low" and "medium-low." That's roughly a quarter turn from the "off" position. You may need to experiment.
Step 3: Add a smoker box. Fill a metal smoker box with wood chips. Place it directly over one of the lit burners. The box gets hot enough to smolder the wood, producing smoke without open flames.
Alternatively, wrap chips in foil and poke holes in the packet.
Step 4: Manage hot spots. Gas burners radiate unevenly. The area directly over the lit burners runs hot. The center zone stays cooler.
Place a drip pan in the center to catch fat and create a humid environment. That moisture helps render fat and keeps meat tender.
Step 5: Adjust for ambient conditions. Cold, windy weather strips heat from the grill body. You'll need to nudge the burners slightly higher. Hot summer days might require dialing them down.
Check the thermometer every 30 minutes for the first hour to learn your grill's personality.
The trade-off on gas is convenience versus authenticity. You won't get the same deep smoke penetration as charcoal. But for weekday meals or apartment balconies where charcoal is banned, gas delivers a perfectly acceptable low-heat result.

Similar Posts



















