How to Grill Juicy Sausages Without Splitting Them: 7
Sausages split on the grill because steam pressure inside the casing builds faster than it can escape. If you've ever watched a fresh bratwurst burst open over direct heat, you know the frustration. The good news is that learning how to grill sausages without splitting comes down to controlling heat, moisture, and timing.
Raw pork or beef sausages need to hit 160°F internally per USDA safe minimum standards. But fat starts rendering around 130°F to 140°F, and steam forms even earlier. That combination is what blows casings apart.
Manage those two forces and you'll get plump, juicy links every time.
Quick Answer
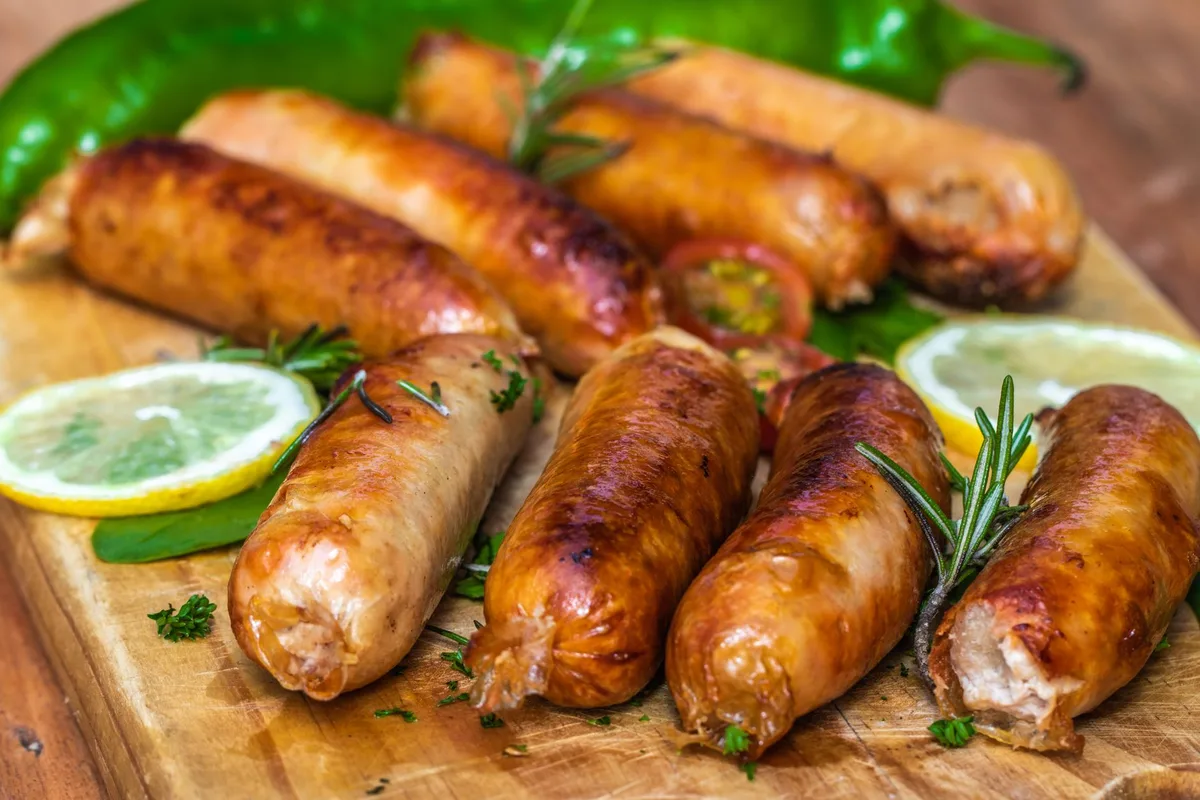
To grill sausages without splitting, use two-zone heat. Place sausages on the indirect side first. Keep the indirect zone around 300°F to 325°F.
Turn them with tongs, never a fork. Pull them at 160°F internal temperature for raw pork or beef. That low, gradual heat stops steam pressure from tearing the casing.
Why Sausages Split: Steam Pressure, Fat Rendering, and Heat Shock
Sausage casings are elastic but not indestructible. Natural hog or sheep casings can stretch a little, yet they have limits. When a sausage gets hot too fast, three things happen almost at once.
First, moisture inside the meat turns to steam. That steam expands rapidly. Second, fat renders out of the meat and mixes with the juices.
Third, the casing itself tightens from direct flame contact. That combination of rising internal pressure and a shrinking, weakening casing is what causes the split.
Heat shock is the main trigger. A cold or room-temperature sausage placed over a roaring 500°F flame gets hit with extreme temperature contrast. The outer layer of meat seizes up.
The casing can't expand fast enough to accommodate the steam. So it ruptures.
The fix is not to prick the sausage. Pricking lets out some pressure, but it also lets out fat and juices. You end up with dry meat and flare-ups from dripping fat.
The better fix is to slow down the heating curve.
If you use indirect heat first, the sausage warms through gradually. Steam forms slowly and escapes through the meat fibers before pressure spikes. Then you can finish over direct heat for browning without blowing the casing.
Different sausage types handle heat differently. That's why the right method depends on what you're grilling and what you're grilling on. We'll break that down next.
The Two Things That Determine Your Method: Sausage Type and Grill Setup
Every no-split sausage method comes down to two variables. What kind of sausage are you cooking? And what kind of grill are you using?
If you have fresh raw links, you need gentle heat and enough time to cook the center safely. If you have pre-cooked smoked sausage, the center is already safe to eat. You're really just reheating and browning.
That changes everything about your heat setup.
Your grill type matters just as much. A charcoal kettle holds heat differently than a gas grill. A pellet grill gives you steady indirect heat almost by default.
A flat-top griddle has no open flame at all.
So before you light anything, answer these two questions.
- Is the sausage fresh and raw, or fully cooked and smoked?
- Are you on a charcoal kettle, a gas grill, a pellet grill, or a flat-top?
The answers route you into one of the workflows later in this guide. Get them wrong and even good technique won't save the casing.
Fresh Raw Links vs Pre-Cooked Smoked Sausage: Two Different Starting Points
Raw fresh sausage is ground meat stuffed into a casing. Think bratwurst, Italian sausage, fresh chorizo, or breakfast links. That meat is uncooked.
It has to reach 160°F for pork and beef, or 165°F for poultry, to be safe. The USDA Food Safety and Inspection Service publishes those numbers as safe minimum internal temperatures.
Pre-cooked smoked sausage is different. Kielbasa, andouille, hot dogs, and most chicken sausages are already cooked during processing. You're reheating them, not cooking them from raw.
The goal is 165°F internal temp for food safety, but the window between safe and dried out is narrow.
Here's the big difference for grilling.
- Fresh raw links need long, low indirect heat to cook through without burning the outside.
- Pre-cooked links need short, moderate heat to warm through and add color.
Fresh sausage casings are under more stress because steam keeps building until the center reaches safe temp. Pre-cooked sausage has less internal moisture to turn into steam. That means fewer blowouts and less time on the grill.
Fat content also changes the math. Fresh sausages with 20% to 30% fat render steadily as they heat. Fattier links tend to shrink more and lose more juice if cooked too fast.
Leaner poultry sausages dry out quickly if held too long over heat.
So if you're grilling fresh bratwurst, do not treat them like smoked kielbasa. The fresh ones need the full two-zone workflow. The smoked ones can handle a shorter indirect pass.
Gas Grill, Charcoal Kettle, or Pellet Grill: Choosing Your Heat Setup
Your grill dictates how much control you have over direct and indirect heat. That control is everything when you're trying to keep casings intact.
A gas grill is the easiest to manage. You light one or two burners and leave the others off. That gives you a predictable two-zone setup with quick temperature adjustments.
A charcoal kettle takes a little more setup. You pile lit coals on one side of the charcoal grate and leave the other side empty. The indirect side stays cooler and is perfect for slow warming.
Vent control becomes essential to hold the temperature steady.
A pellet grill is basically an outdoor convection oven with a fire pot. It naturally runs indirect because food sits over a heat deflector. You get excellent temperature control, though it may take longer to get a good sear.
A flat-top griddle has no open flame and no indirect zone. You manage heat by moving sausages to a cooler area of the griddle or lowering the burner under one section. Splits are less common because there's no direct flame licking the casing, but you can still overheat a cold sausage on a hot griddle surface.
Here's a quick comparison for no-split sausage grilling.
| Grill Type | Indirect Heat Setup | Temperature Control | Risk of Splits |
|---|---|---|---|
| Gas grill | Easy: one burner off | Excellent | Low with two-zone |
| Charcoal kettle | Moderate: coals on one side | Good with vent practice | Low to moderate |
| Pellet grill | Automatic | Excellent | Very low |
| Flat-top griddle | No true indirect zone | Moderate | Low, but browning can happen fast |
If you have a charcoal kettle and you've never banked coals to one side, that's the first skill to learn. It transforms how evenly fresh sausages cook.
Two-Zone Fire Method: The Core Workflow for No-Split Sausages
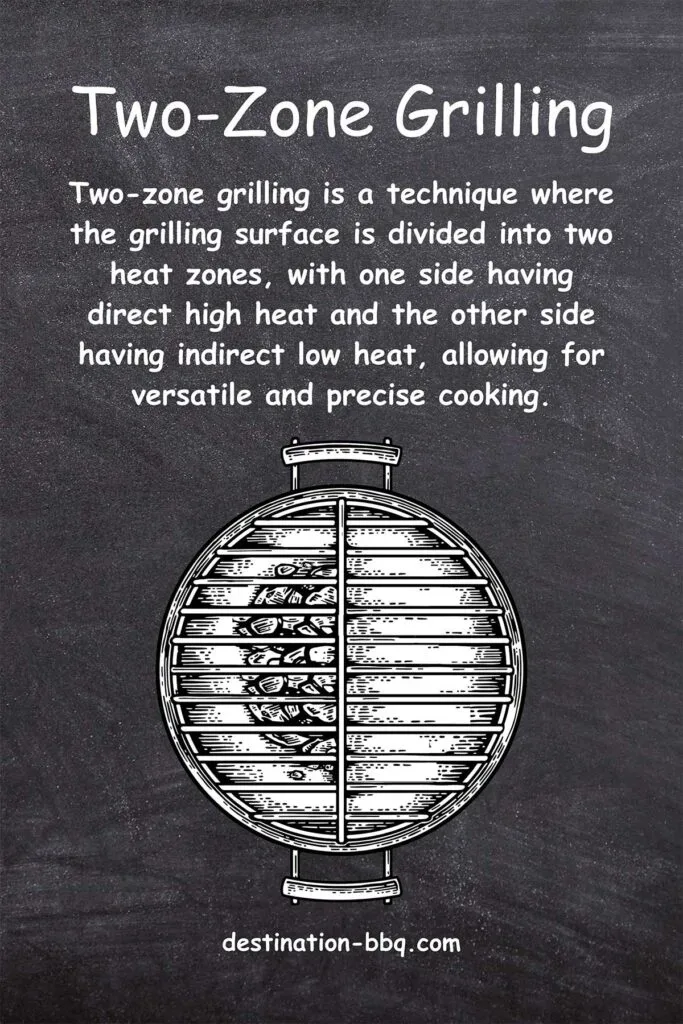
Two-zone fire is the foundation for almost every no-split sausage technique. It gives you a hot side for browning and a cooler side for gentle cooking. Fresh raw sausages spend most of their time on the cooler side.
Here's the workflow, step by step.
Setting Up the Correct Indirect Zone Temperature
For a charcoal kettle, light about three-quarters of a charcoal chimney. When the coals are ashed over, pile them on one side of the charcoal grate. Leave the other side empty.
Place the cooking grate on top and close the lid with the vents over the indirect side.
For a gas grill, light only one or two burners on one side. Leave the others off. Close the lid and preheat.
Aim for an indirect side temperature around 300°F to 325°F. An instant-read thermometer or a grill lid thermometer will confirm the range.
For a pellet grill, set the controller to 300°F. The heat is already indirect, but if you want final browning, you'll crank it up or use a sear station at the end.
Placing and Turning Sausages Without Piercing
Let the sausages sit at room temperature for 15 to 20 minutes before grilling. That reduces heat shock. Pat them dry with a paper towel.
Surface moisture creates steam against the casing, which you don't want.
Place the sausages on the indirect side. Close the lid. The lid traps heat and creates convection, so the sausages cook more evenly from all sides.
Keep the lid closed for the first 10 to 12 minutes for thick links. Thin breakfast links may need only 6 to 8 minutes.
Check the internal temperature by inserting an instant-read thermometer into the end of the sausage. Push it in lengthwise so you don't pierce the side casing. If the temperature is around 145°F to 150°F, you're close.
Turn the sausages with rounded tongs. Grip them gently. Do not squeeze and do not stab.
A fork will puncture the casing and release juices, so put it away.
Finishing on Direct Heat for Color Without Blowouts
When the sausages hit about 150°F to 155°F, move them to the direct side. Keep the lid open during this step. Roll them every 20 to 30 seconds.
You want to brown the surface, not blast it.
A final sear of 1 to 2 minutes per side gives you that mahogany color and casing snap. Pull the sausages as soon as they reach 160°F for pork or beef. Carryover cooking will take them up another 2 or 3 degrees while they rest.
Rest the sausages for 3 to 5 minutes before serving. That lets the juices redistribute and the casing relax. Cut too early and juices pour out, which can cause a final split near the cut.
Poach-Then-Grill Workflow for Extra Insurance on Thick Links
Poaching before grilling is the most reliable insurance for thick fresh sausages like bratwurst or fresh kielbasa. If you've ever struggled to get the center to 160°F without scorching the outside, this method solves it.
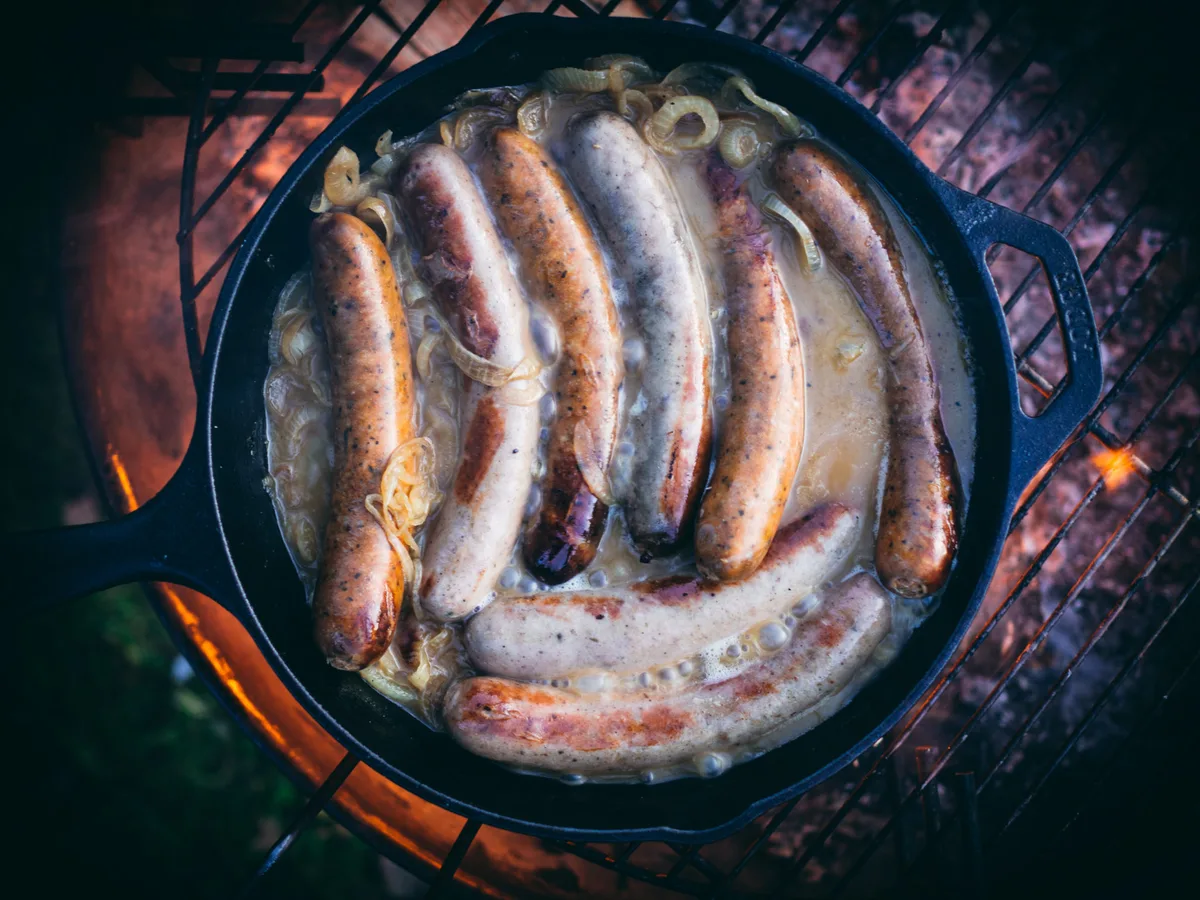
Simmer the sausages gently in liquid first. Water, beer, or broth all work. The liquid does the slow thermal work that indirect heat would normally handle.
By the time the links hit the grill, they're already nearly cooked through.
Simmering at 150–160°F Before the Grill
Keep the poaching liquid between 150°F and 160°F. Do not boil it. Boiling water sits at 212°F, and that's hot enough to burst casings long before the sausage reaches the grill.
A bare simmer with small bubbles rising occasionally is the right look.
Fresh raw bratwursts need 10 to 15 minutes at that temperature. Thick links may take closer to 15. Thin breakfast sausages need only 5 to 7 minutes.
The internal temperature should reach about 150°F before you pull them.
If you're using beer, don't waste a fancy IPA. Any inexpensive lager or pilsner works fine. The liquid is a heat medium, not a flavor bomb.
Add sliced onion and a little butter if you want extra richness, but it's optional.
Drying the Casing Before It Hits the Grates
Once the sausages come out of the poaching liquid, pat them completely dry with paper towels. This step is non-negotiable. Wet casings create steam against the hot grate, and that steam is exactly what causes splits.
Let them sit on a wire rack for 5 minutes after drying. That rest helps the casing tighten back up and prevents handling tears. A slightly tacky, dry surface also browns faster than a wet one.
Then finish over direct heat for 1 to 2 minutes per side. Since the inside is already near temp, the grill only has to add color. No internal steam spike, no blowout.
Cooking Pre-Cooked Smoked Sausage Without Drying It Out
Pre-cooked smoked sausage behaves differently. Kielbasa, andouille, and fully cooked chicken sausage are already safe to eat. You're really just warming them and adding grill marks.
That means lower risk of splits but higher risk of drying out if you overcook.
Use a moderate indirect zone around 300°F. Place the links on the indirect side and close the lid. Most pre-cooked sausages reach 165°F internally in 8 to 12 minutes.
Skip the poaching step here. These links are already cooked, and extra liquid heat washes out smoke flavor and makes the casing mushy.
Move them to direct heat for a quick sear at the end. One minute per side is usually plenty. Watch for fat dripping.
Pre-cooked smoked sausage often has more surface fat, which can cause flare-ups.
If you're on a gas grill, medium-low burners work better than medium-high. The goal is even warming, not aggressive browning.
Thin chicken sausages dry out fast. Check them early, pull at 160°F internal, and rest for 3 minutes. Carryover heat brings them to 165°F off the grill.
Direct-Heat Only Workflow: What to Change When You Can’t Set Up Zones
Sometimes you don't have room for two zones. A small portable gas grill or a crowded tailgate setup forces you onto direct heat only. You can still avoid splits, but you have to change a few things.
First, lower the flame. A direct-only setup with high burners is a guarantee of split casings. Medium-low is the ceiling for raw sausages.
Medium works for pre-cooked links.
Second, turn more often. On direct heat, the bottom of the sausage cooks fast while the top stays cold. Roll the links every 30 to 45 seconds.
Keep them moving so heat penetrates gradually instead of hammering one spot.
Third, use thinner sausages. Breakfast links, chipolatas, and small chorizo cook through faster than thick bratwurst. The shorter the distance to the center, the less time steam builds inside.
Fourth, pull early and rest. Take raw sausages off at 155°F and let carryover finish them. That final resting window buys you a little safety margin on direct heat.
If the flames flare up, move the sausages to the cool edge of the grate temporarily. Even a few inches of distance drops the heat a lot.
Turning, Tongs, and Timing: Pro Habits That Protect Casings
Turning technique matters more than most people think. The wrong tool or a rough flip can tear a casing that heat alone never would.
Use tongs with rounded, wide tips. Long locking tongs give you control without squeezing. Flat-edged tongs and forks are the enemy here.
A fork puncture releases juice, which boils on the coals and causes flare-ups.
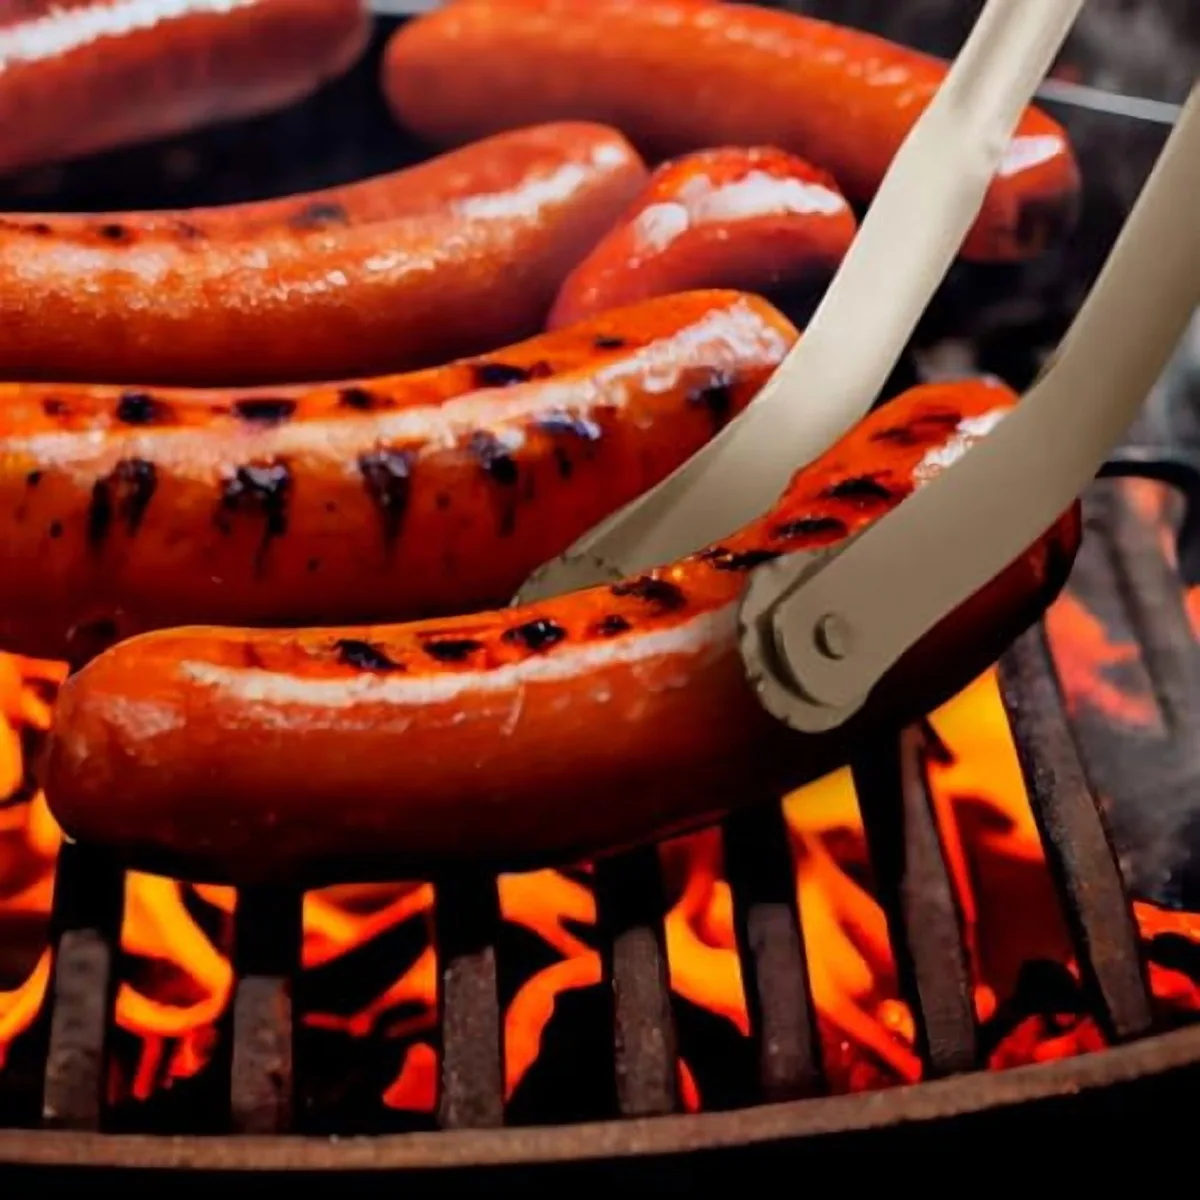
Grip the sausage lightly near one end. Lift, rotate, and set it down. Don't clamp down on the middle.
Deep impressions weaken the casing and create thin spots that split later.
Timing follows the heat method. On indirect heat, turn every 4 to 5 minutes. On direct heat, turn every 30 to 60 seconds.
Let the sausage rest between turns so the heat has time to move inward.
Avoid rolling sausages with the grill lid open too long. Every time you lift the lid, the indirect zone loses heat. Make your moves quick and deliberate.
Let the sausage tell you when it's close. A slight firmness and visible plumpness mean the inside is nearly there. If fat starts beading on the surface, you're rendering properly.
That's a good sign, not a problem.
Mistakes That Cause Split Casings and How to Avoid Them
Most split sausages trace back to one of five mistakes. Fix these and you'll eliminate nearly all blowouts.
- Pricking the casing before grilling. It feels proactive, but it drains fat and juice. Let the slow heat manage the steam instead.
- Starting over high direct heat. Cold sausage plus hot grate equals heat shock. Always warm through on indirect heat first.
- Grilling wet sausages. Water on the casing flashes to steam instantly. Always pat dry before grilling.
- Using a fork to turn. Puncture holes become weak points. Tongs only.
- Overcooking on direct heat at the finish. A final sear should be 1 to 2 minutes per side, not a full second cook.
If you've already split a few sausages, don't panic. Move them to indirect heat immediately. Close the lid and let the steam escape through the split without shrinking the meat further.
They'll lose a little juice but can still be salvaged.
Another common error is crowding the grate. Too many sausages close together trap steam and block airflow. Leave an inch or two between links so heat circulates evenly.
Finally, inconsistent grill temperature causes as many splits as high heat. A charcoal fire that spikes every time you open the lid will stress the casings. Learn your vents and keep the indirect zone steady.
Casing Types and Fat Content: What Actually Holds Up on the Grill
Natural hog casings give the best snap and are fairly forgiving. They stretch a bit before splitting if handled gently. Sheep casings are thinner and more delicate, so they need lower heat.
Collagen casings are uniform and strong but can turn rubbery if overheated. Synthetic casings rarely split but don't offer the same bite.
Fat content matters too. Sausages in the 20% to 30% fat range stay juicy and render evenly. Leaner links dry out fast and tighten quickly.
That tightening makes the casing more prone to cracking. Fattier mixes are your friend on the grill.
Safe Internal Temperatures, Resting, and Carryover Cooking
Always confirm doneness with an instant-read thermometer. For raw pork or beef sausages, the USDA safe minimum is 160°F. Poultry sausages need 165°F.
Pre-cooked links should reach 165°F when reheating.
Rest cooked sausages for 3 to 5 minutes. Carryover heat adds another 2 to 3 degrees after you pull them. That means you can take pork links off at 157°F or 158°F and let them finish off the fire.
Resting also lets the casing relax, which reduces the chance of a last-second split.
Troubleshooting Split Sausages: Fixing the Usual Culprits
If splits keep happening even with two-zone heat, check three things. First, your indirect zone may be too hot. Drop it to 300°F or lower.
Second, the sausages may be too wet. Dry them thoroughly before grilling. Third, you may be turning too aggressively.
Lighten your grip.
A single split near the end usually means a final sear over too much direct heat. Shorten the sear to 30 seconds per side. Multiple splits down the length usually mean heat shock from the start.
Use a longer indirect phase next time.
FAQs: Grilling Sausages Without Splitting
Should I poke holes in sausages before grilling?
No. Poking drains fat and juices and creates weak points. Slow, even heat handles steam pressure better.
How long does it take to grill sausages without splitting?
Fresh raw links take about 15 to 25 minutes with two-zone heat. Pre-cooked links need 8 to 12 minutes.
What temperature should the grill be for sausages?
Keep the indirect zone around 300°F to 325°F. The direct sear zone can run 400°F to 450°F.
Can I grill frozen sausages without splitting?
Not safely. Thaw them in the fridge first. Frozen centers heat unevenly and cause pressure spikes.
Why do my sausages split even on low heat?
Moisture on the casing or air pockets inside the meat can still cause splits. Dry them well and handle gently.

Similar Posts



















