Perfect Grilled Salmon with Skin: Expert Tips for Flaky
Let's get one thing straight right now: if you've been wrestling with a spatula, prying a fillet off the grates while half of it sticks behind, you're not alone. That's the single most common frustration in backyard cooking. Learning how to grill salmon with skin on solves that problem completely, because the skin becomes your built-in non-stick surface and your insurance policy against dry, falling-apart fish.
The skin protects the delicate flesh from direct heat, rendering crispy and delicious while keeping the interior moist. Here's the key fact that changes everything: salmon is done at 125°F to 135°F for that perfect medium, not the 145°F the USDA recommends for food safety. At that lower temperature, the fish stays silky and rich, and the skin gets shatter-crisp if you treat it right.
Let's walk through the whole process so you can hit that range every single time.
Quick Answer
Grill salmon with the skin on at medium-high heat, around 400°F to 450°F. Pat the skin thoroughly dry, oil both the fish and the grates, then place the fillets skin-side down. Cook without touching for 6 to 8 minutes.
The fish is ready to flip when the skin releases easily from the grates. Flip briefly, cook 1 to 2 minutes more, and pull it at 135°F internal. Rest for 3 minutes before serving.
Why Grilling Salmon with Skin On Changes Everything
The skin is doing three jobs at once, and none of them are cosmetic. First, it acts as a barrier between the delicate flesh and the intense heat of the grates. Without it, the fillet cooks too fast, dries out, and turns into that chalky, white, sad version of salmon you've probably had at someone's cookout.
With the skin on, the heat has to work through the fat and collagen first, which gives the interior a much gentler cooking curve.
Second, the skin is your non-stick layer. When properly dried and oiled, the skin crisps up and naturally releases from the grates. The flesh, on the other hand, will stick to a hot grill like glue.
That's why skinless fillets are a nightmare on the grill. You're fighting physics the whole time.
Third, and this is where it gets good, the skin holds the fillet together. Salmon naturally flakes apart as it cooks. The skin acts like a structural strap that keeps the whole piece intact while you maneuver it with the spatula.
Flip it, slide it, rest it, all without the fillet breaking into chunks.
The flavor payoff is real too. As the skin renders, the fat bastes the flesh from underneath. You get crispy, salty, umami-rich skin that honestly tastes like the best part of the meal, plus a juicy interior that didn't dry out.
The Right Salmon Starts Before the Grill
Quality ingredients matter, and with salmon, the visual cues at the store tell you everything. You want fillets with the skin still attached, ideally with the scales removed but the skin intact. Look for pieces that are roughly 1 to 1.5 inches thick at the thickest point.
Center-cut fillets are your friend here. They're uniform in thickness, which means they cook evenly. Thin tail-end pieces taper down and will overcook at the thin end before the thick part is ready.
Here's the visual test you should run every time you're buying:
| Check | What to Look For |
|---|---|
| Color | Bright, translucent flesh. Wild salmon ranges from deep red to vibrant orange. Farmed salmon is lighter pink. |
| Smell | Clean and briny, like the ocean. Anything fishy or ammonia-like means it's old. |
| Texture | Flesh should spring back when pressed gently. No mushiness. |
| Skin | Firm, moist, no slime. The skin should look fresh, not dried out at the edges. |
Wild-caught vs. farm-raised matters for grilling, but not for the reasons most people think. Wild salmon like King or Sockeye has less fat, so it cooks faster and can dry out more easily. You need to watch it closely and pull it at the lower end of the temperature range.
Farmed Atlantic salmon has more fat, which makes it more forgiving and harder to overcook. As of 2026, the price difference between wild and farmed is still significant, anywhere from $12 to $30 per pound for wild versus $8 to $15 for farmed. Both work on the grill, but wild demands more attention.
Fresh vs. frozen is another consideration. Honestly, flash-frozen salmon is often better than "fresh" that's been sitting on ice for four days. Look for frozen fillets that are individually vacuum-packed.
Thaw them slowly in the fridge overnight, then pat them dry. You lose nothing in flavor or texture, and you gain flexibility in your meal planning.
Gear Check: What You Actually Need (and What to Skip)
You don't need a fancy setup to grill salmon well, but a few specific tools make the difference between a frustrating experience and a great one. Here's the rundown based on what actually matters.
The grill itself. Gas, charcoal, and pellet grills all work. Gas gives you precise temperature control, which is nice for beginners. Charcoal adds a smoky flavor that pairs beautifully with salmon, but you have to manage your heat zones carefully.
Pellet grills work great too, though you'll get less direct heat sear. The constant across all three is getting the surface to that 400°F to 450°F sweet spot.
Grill grates. Cast iron grates hold heat better and give you those beautiful sear marks. Stainless steel grates require more careful oiling and are more prone to sticking. If you have stainless grates, just be more generous with the oil.
If you have cast iron, make sure they're well-seasoned before you start.
The fish spatula. This is non-negotiable. A wide, thin, flexible metal spatula is designed specifically for getting under delicate fish without breaking it. The flexible edge conforms to the shape of the grates and slides under the fillet cleanly.
A regular spatula is too thick and blunt; it will crush the flesh. This tool costs around $12 and is worth every penny.
A grill basket. Optional, but useful if you're nervous. A fish basket keeps the fillets contained and makes flipping easy. The downside is that you don't get direct contact with the grates, so you lose the crisp skin and the sear marks.
For this article, we're skipping the basket and going direct on the grates. Trust the process.
An instant-read thermometer. This is the single most important tool for consistent results. You cannot tell if salmon is done by looking at it, and cutting into it to check ruins the presentation. A good instant-read thermometer gives you a reading in 2 to 3 seconds.
We recommend one that reads to within 1°F accuracy across a range of about -40°F to 450°F. Target 125°F to 135°F and you will never dry out another fillet.
Prepping the Skin for a Crispy, Non-Stick Sear
This is where the magic happens, and it's also where most people mess up. The preparation steps for the skin are simple, but they're non-negotiable if you want crispy, non-stick results.
Step one: Pat the skin bone-dry. Use paper towels and press firmly. You want zero surface moisture. Water on the skin creates steam, which prevents browning and promotes sticking.
This is the number one mistake people make. They rinse the salmon and toss it on the grill without drying it, and then they're shocked when it sticks. Dry skin renders and crisps.
Wet skin steams and sticks.
Step two: Score the skin (optional but helpful). This means making three or four shallow diagonal cuts through the skin, just barely into the fat layer, not into the flesh. Scoring does two things. It prevents the fillet from curling up as the skin shrinks during cooking, and it lets you create those crosshatch grill marks if you're after the aesthetic.
If you skip this, you'll need to press the fillet flat for the first minute of cooking. Scoring makes that unnecessary.
Step three: Oil the fish, not just the grates. Brush a thin layer of high smoke point oil onto the skin. Avocado oil is ideal here, with a smoke point around 500°F. Canola oil works at 400°F, which is borderline for a hot grill.
Olive oil smokes at around 350°F, so save it for finishing, not for grilling. The oil on the skin helps conduct heat evenly and promotes that even browning.
Step four: Season the flesh side. Keep it simple. Salt and pepper are enough for most tastes. The skin gets the high heat, but the flesh still needs seasoning because it's the part you actually eat.
A teaspoon of flaky sea salt per pound of salmon is a good starting point. You can get creative later with spice rubs, brown sugar, or citrus zest, but the smoke and the salmon should be the stars the first few times.
Step five: Let the fillets sit at room temperature for 10 minutes. This takes the chill off, so the salmon cooks more evenly. Cold fish hitting a hot grill contracts unevenly and cooks unevenly. Ten minutes on the counter, loosely covered, makes a noticeable difference.
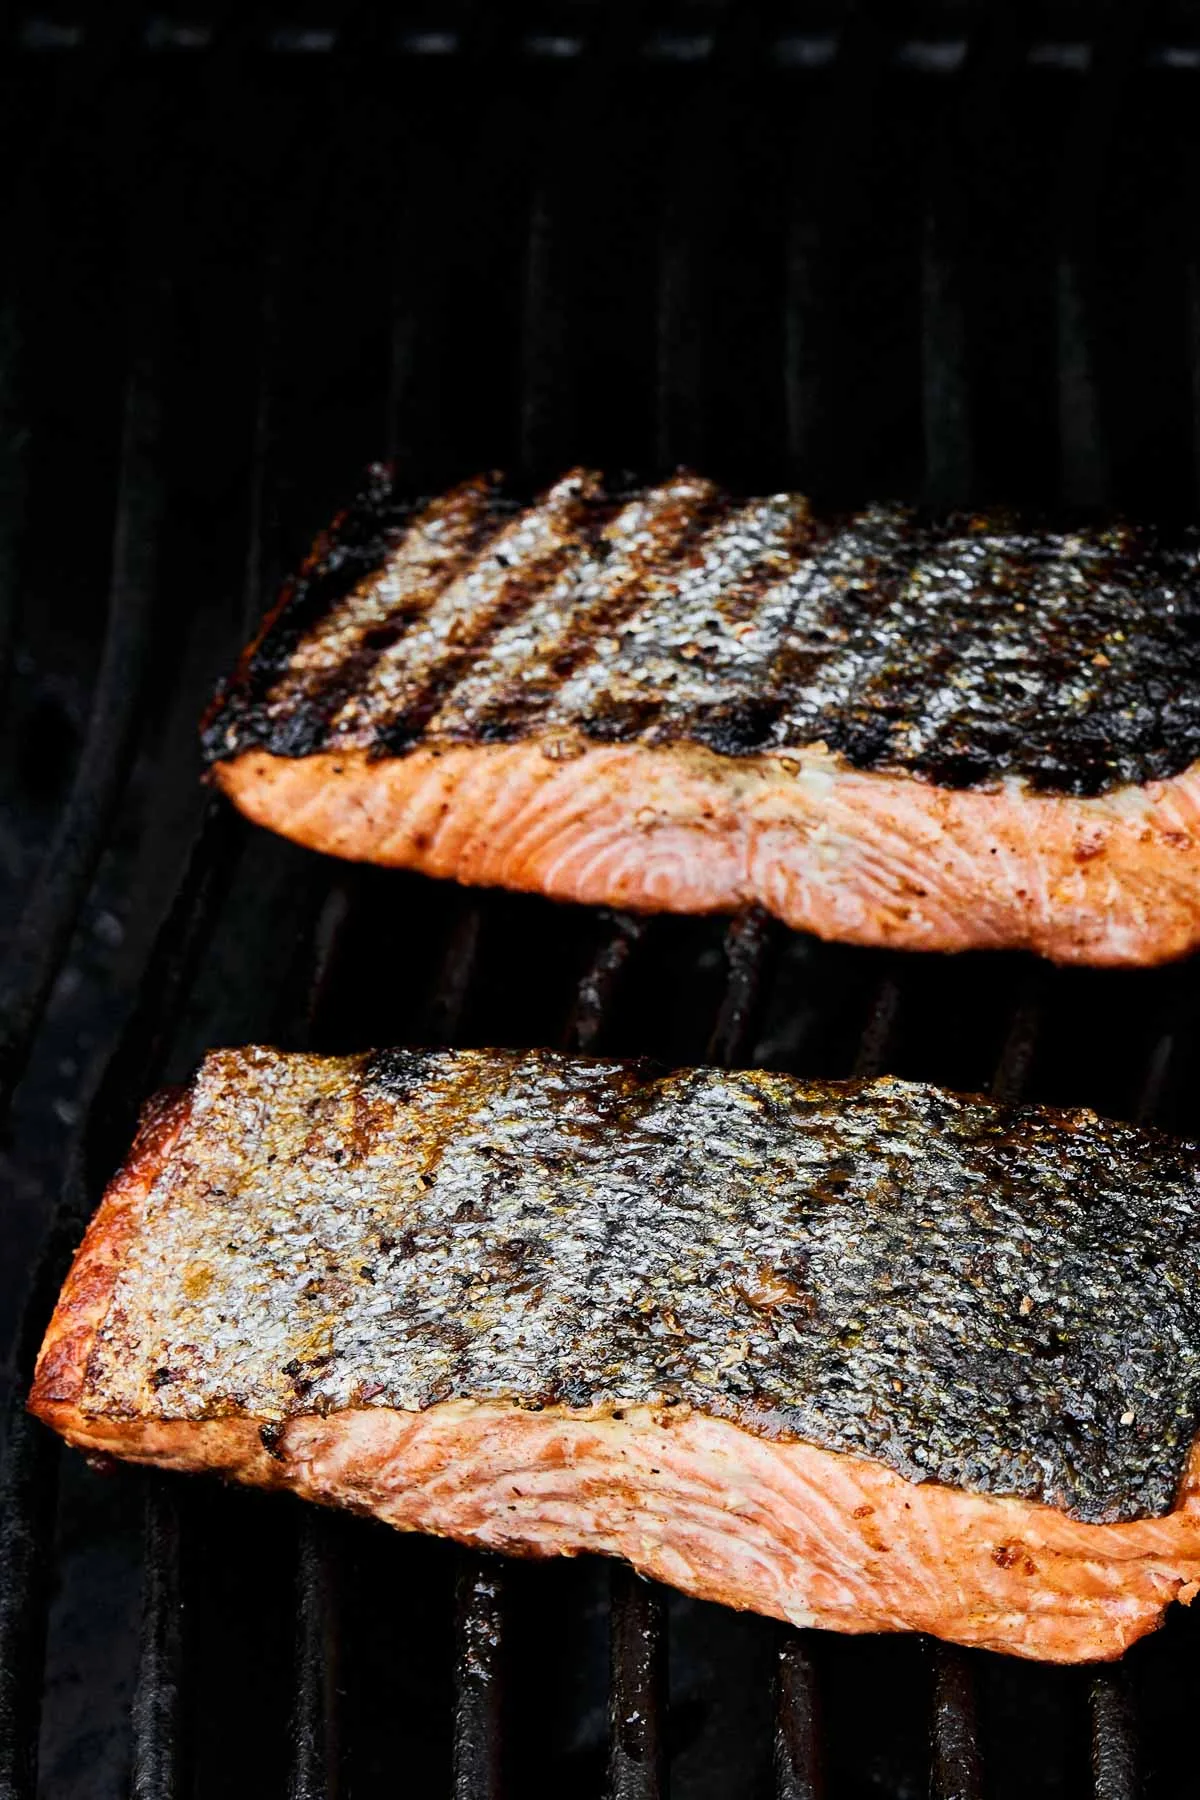
The Visual Guide: Reading Your Grill and Preheating Correctly
You can't grill salmon well on a grill that isn't ready. And "ready" is a very specific thing that you have to see, not just set with a dial. Here's what to look for.
Preheat thoroughly. Start your grill at least 10 to 15 minutes before you plan to cook. Close the lid and let the grates soak in the heat. A gas grill needs that time to fully heat the metal grates, not just the air inside.
On a charcoal grill, wait until the coals are covered in white ash, which takes about 20 to 30 minutes after lighting. That's your visual cue that they're ready.
The shimmer test. Here's how to know if your grill is hot enough without relying on the built-in thermometer. Look at the grates. When they're properly hot, you'll see a slight shimmer in the air above them, like heat waves on a highway in summer.
That's infrared energy radiating from the metal. It means the grates are stored with enough heat to instantly sear the skin. If you don't see that shimmer, wait another few minutes.
Clean the grates properly. This is a two-step process. First, heat the grill long enough that any residue from previous cooks has turned to ash. Then, use a stiff wire brush to scrape the grates clean.
A clean grate surface means the salmon will release easier. A dirty, crusty grate means the fish will weld itself to the metal. Per USDA guidelines, sanitizing hot surfaces also prevents cross-contamination from previous proteins.
Oil the grates right before placing the fish. Use a folded paper towel dipped in avocado oil, held with long tongs. Rub it across the grates in long strokes. The oil should smoke immediately, that's the visual confirmation you're in the right zone.
If it doesn't smoke, the grill isn't hot enough. This layer of oil on the grates, combined with the oil on the skin, gives you a double barrier against sticking.
Set up your heat zones. You want a direct heat zone for searing the skin, and an indirect zone for finishing if needed. On a gas grill, that means leaving one burner at medium-high and one burner on low or off. On a charcoal grill, pile the coals on one side.
This setup matters because thick fillets might need the lower heat to finish cooking the center without burning the skin.
Placement matters. When you put the salmon down, place it at an angle to the grate bars, roughly 45 degrees. This gives you those classic diamond sear marks and, more practically, gives you more surface contact with the heat. The skin starts crisping immediately, and you get a more even sear across the entire surface.

Similar Posts



















