Master Grill Temp Control: A Precision Guide
You've loaded the charcoal, lit the chimney, and dumped the coals. Then you closed the lid and watched the needle climb to 400°F when you needed 250°F. Sound familiar?
Learning how to control grill temperature accurately is the single biggest skill gap between casual grillers and people who nail consistent barbecue every time. The good news is that manual temperature control isn't some mystical art. It's physics, and once you understand three simple principles, you'll hold your grill within 15 degrees without thinking about it.
As of 2026, the market is flooded with fancy fan controllers and Bluetooth-enabled pellet smokers. But here's the reality: you don't need any of that. A basic understanding of airflow, fuel, and thermal mass will let you manage a $60 kettle grill with the precision of a $2,000 ceramic Kamado.
Manufacturer specifications confirm that even entry-level grills are capable of solid temperature stability. The limiting factor is almost always the person standing in front of it, not the equipment.
Quick Answer
Control grill temperature by managing airflow. Oxygen feeds fire. More oxygen means more heat.
Less oxygen means less heat.
Use the bottom vent to adjust temperature. Use the top vent to maintain steady airflow and smoke flavor. Open vents wide for high heat.
Close them down for low-and-slow cooking.
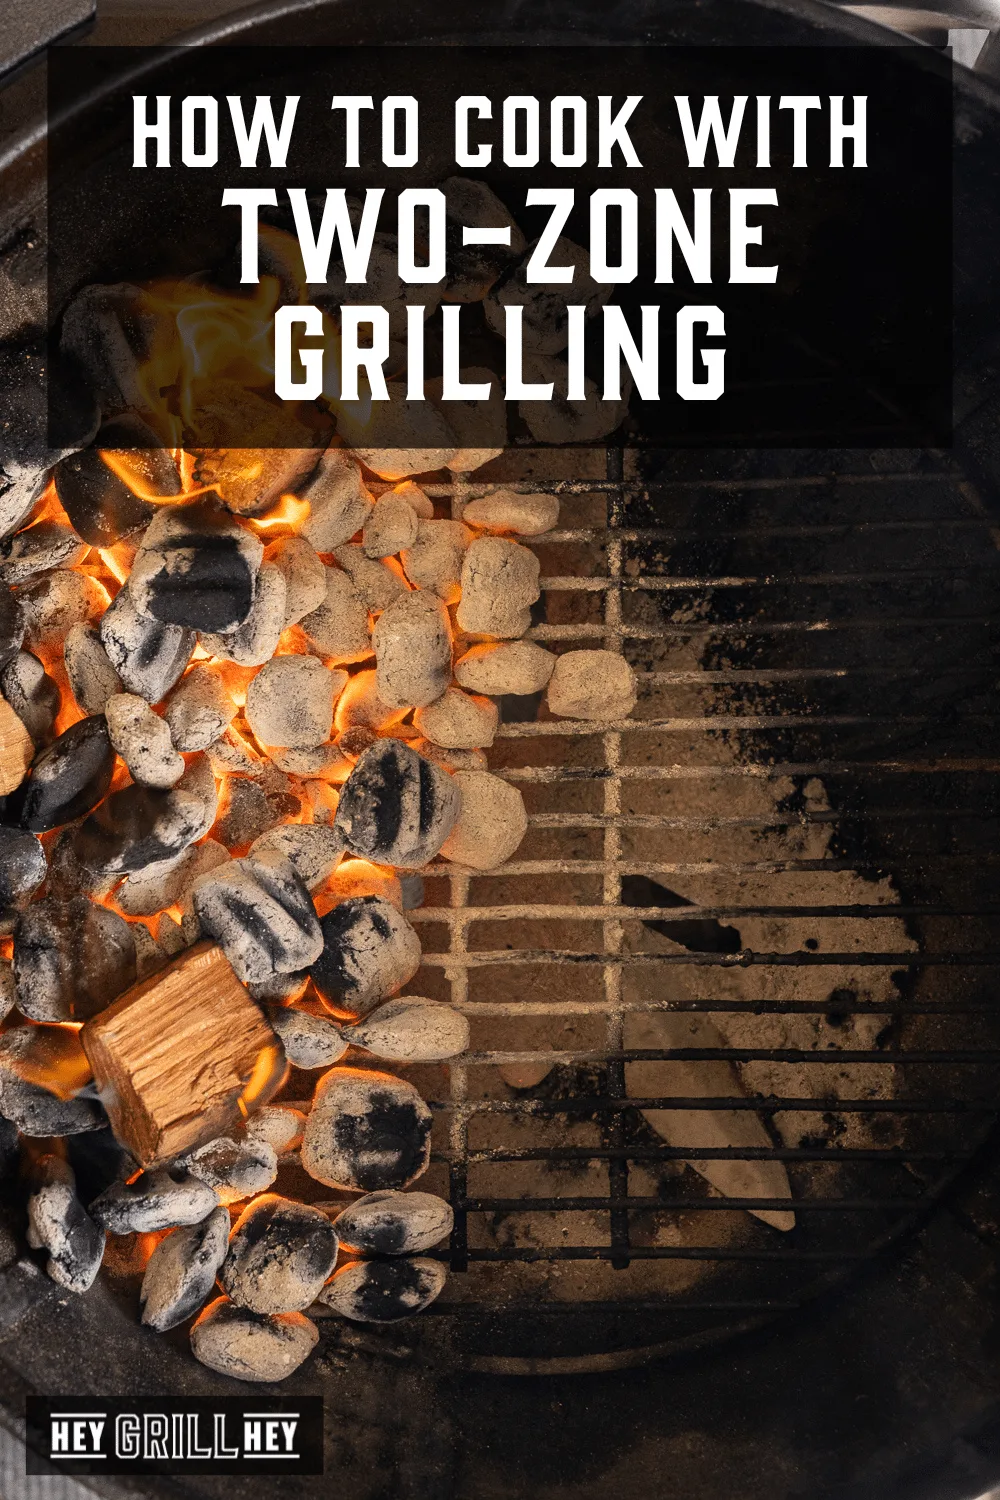
Set up a two-zone fire. Pile charcoal on one side. Leave the other side empty.
This gives you a hot zone and a cool zone. Move food between zones to control how fast it cooks.
Always preheat before cooking. Let the grill stabilize for 20 to 30 minutes. Patience beats frantic vent adjustments every time.
Why Grill Temperature Accuracy Actually Matters
Let's be blunt. Temperature accuracy is the difference between a perfect brisket and a $70 hockey puck. When you're cooking low-and-slow, the collagen in tough cuts needs time and heat to break down into gelatin.
If your grill runs too hot, that connective tissue shrinks and tightens, leaving you with tough, dry meat. If it runs too cold, you're sitting there for hours wondering why dinner isn't ready.
The bigger issue is the built-in lid thermometer. Most grills ship with a cheap bimetallic gauge that measures the air temperature right under the lid. Not the temperature at the cooking grate, not the internal meat temperature, and usually not even an accurate reading of the air itself.
We've seen stock thermometers read 100°F off from an actual probe placed on the grill surface. One popular manufacturer's spec sheet claims accuracy of ±15°F, but that's on a good day, in perfect conditions. Real-world readings skew far worse.
Think about what that means. You're chasing 225°F on a dial that says 250°F, while the actual cooking surface sits at 275°F. Your pork shoulder cooks 50 degrees hotter than you intended, which pushes it through the stall faster but makes it tighter and drier.
On the other end, if the gauge reads low and your grill runs hot, you could be serving undercooked chicken. That's not just a culinary failure. That's a food safety issue.
This is why every serious griller we've studied swears by the same approach. Ignore the lid gauge. Use a reliable digital probe thermometer.
And learn to read your grill's behavior through its vents and smoke output.
The Core Physics of Grill Heat (Simplified, Not Dumbed Down)
Here's the thing about grills. They're nothing more than controlled fires in a metal box. And fire needs three things to burn.
Fuel, oxygen, and heat. Take away any one of them and the fire dies. Once your charcoal is lit and stable, the only variable you're really controlling is oxygen flow.
The Bottom Vent Is Your Thermostat
Your grill's bottom vent controls how much oxygen feeds the fire from underneath. Open it wide and you're inviting a flood of oxygen, which makes the coals burn hotter and faster. Close it down and you choke the fire, dropping the temperature.
This is your primary temperature control. It's simple to understand, but easy to overcorrect. The temptation is to make big adjustments.
Don't.
The Top Vent Controls Airflow Direction
The top vent controls the draw. It's the exhaust at the top of the grill. Wide open, it lets heat and smoke escape freely, pulling fresh air through the bottom vent.
This creates a steady, consistent airflow. Mostly closed, it traps smoke and moisture but can also cause incomplete combustion, leading to bitter, acrid smoke. Here's the rule: use the bottom vent to adjust temperature and run the top vent at least half open at all times.
Thermal Mass Is Your Friend
Thin steel kettles lose heat quickly. Every time you open the lid, you dump heat into the atmosphere and the grill fights to recover. Ceramic Kamados, by contrast, have huge thermal mass.
Once they're hot, they stay hot. Wind, cold air, or a lid opening barely phases them.
That concept applies regardless of grill type. Using a water pan on a charcoal grill adds thermal mass to your cooking chamber. Water absorbs heat like nothing else, slowly releasing it over time.
It smooths out temperature spikes and dips while also adding moisture to the environment. This is why so many competitive BBQ cooks use them.
Understanding these three principles is the foundation of temperature control. Understanding the vent settings is where you start. Even before you know precisely where to set the vents, learning to read your temperature and adjust slowly is the skill that separates controlled cooks from frantic ones.
Mastering the Manual Heat Controls (Charcoal and Wood)
Alright, let's get into the actual workflow. You've got your charcoal lit, dumped, and spread. Now what?
The sequence matters, so we'll walk through it in order.
The Order of Operations
Start with the bottom vent set about halfway open. Then position the top vent fully open. Let the grill warm up and stabilize for about 20 minutes.
Your target is the temperature you want to cook at. Once you're within 20 to 30 degrees of that target, start making small adjustments.
Here's the critical part. Every time you change a vent, wait. The grill takes three to five minutes to respond.
That's the "3-minute rule." Make an adjustment, set a timer, walk away. Open a beer. Check back.
Most temperature overshoots come from impatient cooks who yank the vents, see no immediate response, and yank them again. Then 15 minutes later, the grill is running 100 degrees too hot.
The Minion Method for Long Cooks
If you're cooking low-and-slow for 8 to 12 hours, you need a fuel strategy. That's where the Minion method comes in. It's named after the original user of this technique on barbecue forums.
The concept is brilliantly simple.
Fill your charcoal chimney or basket with unlit charcoal. Then dump a small chimney's worth of blazing-hot lit coals on top. The fire slowly works its way down through the unlit charcoal over several hours.
It's like a slow-burning fuse that provides consistent heat for a long cook without you ever needing to add more fuel.
With the Minion method and carefully managed vents, you can maintain 250°F for 10-plus hours on a single load. The beauty is that you're not fighting a dying fire. You're managing a steady, slow burn.
Using Water Pans for Stability
Adding a water pan seems counterintuitive. You're grilling, why would you add water? Because it works.
A metal pan half-filled with water placed on the cool side of a two-zone fire acts as a heat sink. It absorbs excess heat during spikes and releases it slowly when the fire dips.
The benefit is twofold. You get more stable temperatures, and you add moisture to the cooking chamber. That moisture helps keep large cuts from drying out during long cooks.
Also, the water pan sits between the fire and your food, spreading the heat evenly rather than leaving one side scorched.
Managing Vents in Real Time
You'll know the fire is running too hot when you see blue smoke, or worse, thin gray smoke. That's the sign of a clean but aggressive burn. Sweet, thin, blue smoke is actually what you want for flavor.
The issue is when temperatures climb 30 degrees above your target.

When that happens, don't slam the vents shut. You'll create a huge thermal swing, and then you'll chase your tail for the next half-hour. Instead, close the bottom vent by a quarter or a third.
Wait five minutes. Check again. If it's still climbing, close it another quarter.
Small adjustments, steady hands, and patience.
One more note on vent direction. Always ensure the top vent faces downwind if you have a breeze. This creates a slight vacuum in the grill, pulling air through the fire and out the top rather than letting wind blow directly into the grill.
Getting the Most Out of a Gas Grill
Gas grills are easier to control than charcoal, but they have their own quirks. The biggest mistake we see isn't temperature control. It's treating the dial like a thermostat when it's really just a fuel valve.
Why the Gas Dial Isn't a Thermostat
Your gas grill's dials control the flow of propane or natural gas to the burners. Turn them up and you get more fuel, more fire. Turn them down and you get less.
That's it. There's no feedback loop. No sensor reading the grill's internal temperature.
It's a simple valve.
A gas grill's temperature also climbs gradually as the grill heats up and even as the grates absorb heat. That's why "set the dial to medium" is the least useful instruction in grilling. "Medium" means completely different things on different grills.
On a high-end Grill Master version with three burners, medium might mean 350°F. On a budget model with a single burner, medium might be 450°F.
The solution is to treat your gas grill like you would an oven. Learn its personality. Use a digital probe installed at the grate level and map out which settings approximate which temperatures.
Creating Heat Zones on a Gas Grill
The most useful skill for gas grilling is learning to create zones. If you have a three-burner grill, turn the left burner on high and the middle burner on medium. Leave the right burner off.
That creates a hot zone, a medium zone, and a cool zone.
For searing steaks, you'll want high heat direct from one burner. For indirect cooking like chicken or ribs, turn off the burners under the meat and leave the other burners on. This simulates the two-zone charcoal setup with none of the ash.
Managing Flare-Ups Without Losing Heat
Flare-ups happen when fat drips onto hot burner covers or flavorizer bars. They're dramatic, and they can burn your food quickly. Resist the instinct to turn everything off.
That'll kill your heat and you'll lose the sear.
Instead, move the food to the cool zone temporarily. Let the flare-up burn itself out. When it settles, move the food back.
If flare-ups happen constantly, you're probably cooking over a dirty grill. Clean the grates and the burners, and the problem disappears.
Thermometers and Measurement: Your Best Accuracy Investment
You can learn every airflow trick in the book, but without reliable measurement, you're flying blind. The stock grill thermometer isn't reliable. That's a certainty based on aggregate reviews of virtually every consumer grill manufacturer out there.
Here's what you actually need.

Instant-Read vs. Leave-In Probes
There are two distinct thermometer types, and you need both for serious grilling.
An instant-read thermometer is your spot-check tool. You open the grill, insert the probe into the meat, and get a reading in 2 to 3 seconds. It's perfect for checking thin cuts like chicken breasts or steaks where you don't want to leave a probe in place.
The downside? Every time you open the lid to check, you lose heat.
A leave-in probe thermometer solves that problem. You insert the probe into the thickest part of the meat before putting it on the grill. The cable runs from the probe, under the lid, to a digital reader that sits outside the grill.
You read the temperature without ever opening the lid. This is the tool for low-and-slow cooks.
Where to Place the Probe (Not the Lid)
The probe's placement is just as important as the probe itself. Insert it into the thickest part of the meat, avoiding bone and large pockets of fat. Bone conducts heat differently than meat, giving you a false reading that could be 20 degrees off.
If you're measuring ambient grill temperature, don't rely on a lid-mounted gauge. Use a separate probe positioned near the cooking surface, away from direct heat. For two-zone setups, clip the probe to a grate on the cool side.
Calibration: The Ice-Water Test
You might want to know if your thermometer is lying to you. It's a valid concern. To do this, fill a glass with ice, top it off with cold water, and stir for 30 seconds.
Insert the probe into the slurry. It should read 32°F. If it doesn't, many digital thermometers have a calibration adjustment.
If yours doesn't, you now know exactly how off it reads. You can adjust your target temperatures accordingly. For instance, if your probe reads 38°F in the ice bath, subtract 6 degrees from every reading you get.
That's your working offset.
The Carryover Effect
One of the most misunderstood concepts in grilling is carryover. When you pull a large cut of meat off the grill, internal temperature keeps climbing. That's because heat from the outer layers continues to conduct inward.
A brisket that reads 200°F might climb another 5 to 10 degrees while it rests.
This matters because your target temperature should account for carryover. Pull large cuts at temperatures slightly below your target. For steaks, pull them about 5 degrees early if you want medium-rare perfection.
Resting the meat allows the carryover to finish the job.

Similar Posts



















